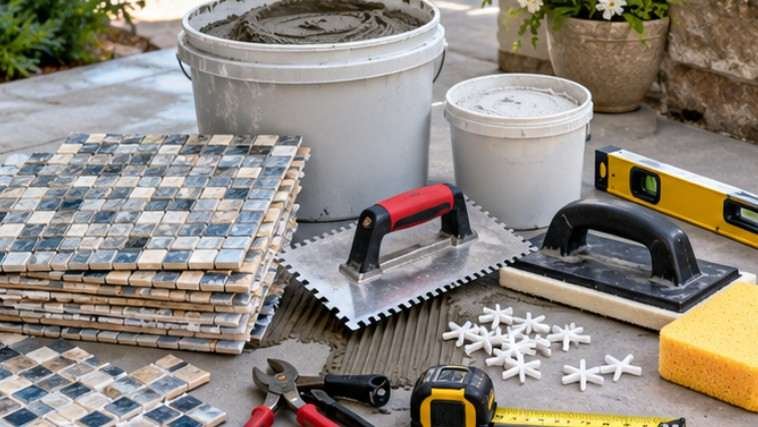

A mosaic tile that falls from a fountain is rarely an isolated cosmetic problem. Water may already be moving behind neighboring tiles, weakening mortar, carrying mineral salts, or creating freeze-thaw pressure beneath the surface.
That is why learning how to fix loose mosaic tiles in outdoor water fountain installations starts with diagnosing what caused the bond to fail—not simply gluing the loose pieces back on. A durable repair means removing weak material, restoring a sound bonding surface, choosing products approved for exterior or submerged conditions, and giving them enough time to cure before water returns.
Why Mosaic Tiles Come Loose in Outdoor Fountains
Outdoor fountains create unusually demanding conditions for tile assemblies. The surface can remain wet for hours or days, then dry in direct sunlight. In many parts of the United States, it may also experience freezing winters.
The National Park Service explains that moisture can travel through porous materials by liquid movement and capillary action, and that freezing moisture can contribute to cracking and spalling. Although its guidance addresses masonry buildings, the same physical concern matters around cementitious fountain substrates: trapped water and freezing temperatures are a destructive combination.
The University of Alaska Fairbanks Cooperative Extension similarly notes that water penetrating masonry can freeze and cause mortar to crumble or lose its binding ability.
Loose mosaics may therefore result from:
- deteriorated or incorrectly selected thin-set mortar;
- water penetrating behind the tile assembly;
- movement or cracking in the fountain shell;
- freeze-thaw cycling;
- algae, dirt, scale, or contamination underneath previous repairs;
- deteriorating grout that allows increased water infiltration;
- poorly bonded mesh-backed mosaic sheets.
If several tiles sound hollow or move when gently pressed, repairing only the tile that has already fallen off may postpone a larger failure rather than solve it.
Start With a Simple Fountain Tile Test
Turn the pump off and drain the fountain below the repair area. For the most dependable repair, completely draining the basin is preferable unless the bonding product is specifically approved by its manufacturer for underwater installation.
Next, gently tap nearby mosaics with the plastic handle of a screwdriver. Compare the sound with obviously secure tiles.
A noticeably hollow sound does not automatically prove failure, but widespread hollow areas combined with cracked grout, movement, or detached tiles suggest that the damaged section may extend farther than you can see.
Also inspect for white deposits around grout joints. The PMCB explains that soluble salts can move through porous ceramic materials with moisture and recrystallize as conditions change. White deposits therefore deserve investigation rather than simply being scrubbed away repeatedly.
Remove the Failed Tile and Old Bonding Material
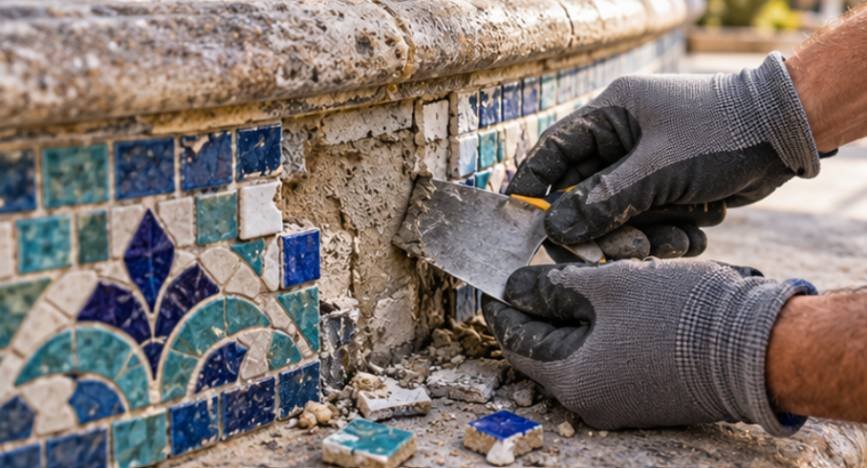
Work outward until you reach solid material
Use a narrow scraper, grout-removal tool, or small chisel to remove damaged grout around the loose mosaic. Lift detached pieces carefully if you plan to reuse them.
Do not aggressively pry against neighboring tiles. Small glass and ceramic mosaics can chip surprisingly easily.
Scrape the substrate until weak, powdery, or crumbling adhesive is gone. The back of reusable tiles should also be cleaned enough to expose a suitable bonding surface.
The goal is not necessarily to expose bare concrete everywhere. The goal is to eliminate anything that is loose, contaminated, or incapable of supporting the new adhesive.
Investigate cracks before covering them
A visible substrate crack, active water leak, soft mortar bed, or large area of debonding changes the job.
Resetting tile over an unstable base will not stabilize the fountain. Significant structural cracks, waterproofing failures, or widespread hollow mosaics may require removing a larger section and rebuilding the underlying assembly.
For outdoor tiled surfaces that require a stable, level installation, explore how adjustable paving support systems can help support and level paving installations.
Clean the Repair Zone Without Creating Another Problem
Remove algae, dirt, calcium deposits, dust, and loose particles before installing new material.
Avoid assuming household bleach is always the best answer. The U.S. Environmental Protection Agency says chlorine bleach is not routinely recommended for mold cleanup and emphasizes physically removing contamination and controlling moisture. It also warns never to mix bleach with ammonia-containing cleaners.
For fountain repairs, follow the tile, grout, and adhesive manufacturers’ cleaning instructions. Rinse cleaners thoroughly so residue does not interfere with bonding.
Allow the substrate to reach the moisture condition required by the chosen mortar or epoxy. Some cementitious products require a prepared damp surface; others require dry conditions. Product instructions take priority.
Choose an Adhesive Designed for the Actual Exposure
This is where many quick repairs fail. Indoor mastic, craft adhesive, hot glue, and ordinary household construction adhesive should not be treated as substitutes for a tile-setting product engineered for constant moisture.
Look for a manufacturer-approved system suitable for the specific combination of:
- exterior exposure;
- fountain or submerged service;
- ceramic, porcelain, stone, or glass mosaic;
- the existing concrete or masonry substrate;
- expected temperature conditions.
A polymer-modified cementitious mortar may be appropriate for many fountain installations, while certain repairs may call for an epoxy or specialty underwater-setting compound.
For another outdoor tiling project where adhesive compatibility, substrate preparation, and movement accommodation are essential, see this guide on tiling around an outdoor pizza oven arched opening, which explains how to select materials for demanding installation conditions.
Do not choose solely because a label says “waterproof.” Confirm that the product manufacturer allows the intended submerged or continuously wet application.
Reset the Mosaic Tiles Carefully
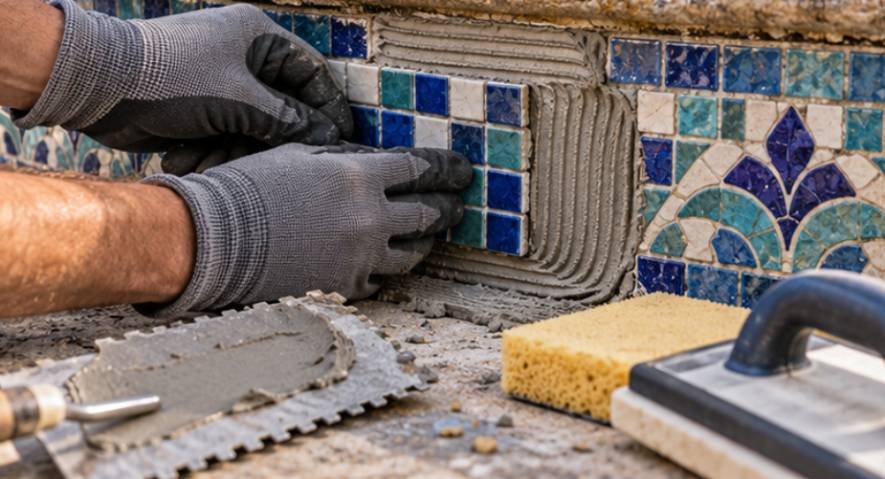
Spread only enough setting material for the small repair area.
Use a small notched trowel, margin trowel, or manufacturer-recommended application method. The mortar needs adequate contact without filling every grout joint.
Press the mosaic into place and move it slightly to establish firm contact. Match the face of the repaired pieces with surrounding tiles so there is no noticeable ridge or depression.
For several pieces mounted together, use a clean grout float to apply even pressure.
Immediately remove setting material squeezed into grout joints. Leaving excessive mortar there reduces the space available for grout and makes the finished repair look uneven.
Let the Bond Cure Before Grouting
One of the easiest mistakes is refilling the fountain too soon.
Follow the adhesive manufacturer’s stated cure time for the actual temperature, humidity, tile type, and water exposure. A product that becomes firm after several hours is not necessarily ready for continuous immersion.
Once the setting material has cured, grout the repaired joints with a product approved for exterior fountain or submerged applications.
Keep movement joints separate from ordinary grout joints if the fountain design requires flexible sealant.
Should You Seal the New Grout?
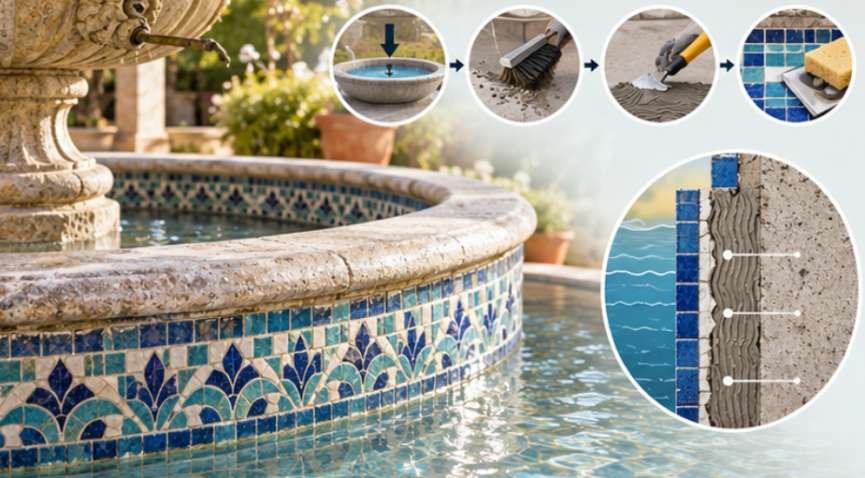
Not automatically. Some cementitious grouts benefit from a compatible penetrating sealer, while certain epoxy or high-performance grouts may not need one. A sealer also cannot compensate for defective waterproofing or failed mortar.
Moisture trapped beneath impermeable treatments can sometimes worsen deterioration in porous masonry systems. The National Park Service warns that inappropriate coatings can trap water and accelerate freeze-thaw damage in masonry.
Follow the grout manufacturer’s recommendations rather than applying sealer simply because the installation holds water.
Protect the Repair From Freeze-Thaw Damage
Cold-climate fountain owners should treat winter preparation as part of the tile repair.
Drain the fountain according to the manufacturer’s winterization instructions and avoid leaving water trapped in areas likely to freeze. Research summarized by the American Cement Association shows that freeze-thaw durability is strongly influenced by saturation—the amount of water present when freezing occurs.
That helps explain why a fountain repair that survives summer operation may fail after a wet winter.
For additional cold-weather protection, learn how to protect Talavera tile from freezing weather to help reduce the risk of freeze-related damage to outdoor tile installations.
Inspect grout cracks, joints, drains, and loose mosaics before freezing temperatures arrive rather than waiting until spring.
Frequently Asked Questions
1. Can I glue a loose fountain mosaic tile without draining the water?
Only if a repair product is specifically approved for underwater application. Draining the repair area generally allows better cleaning, inspection, placement, and curing.
2. What adhesive should I use for outdoor fountain mosaics?
Choose a mortar, epoxy, or specialty adhesive whose manufacturer specifically approves your tile material, substrate, exterior exposure, and continuous or submerged water conditions.
3. Why do fountain tiles keep falling off after I repair them?
Repeated failure usually points to an underlying issue such as deteriorated mortar, moisture intrusion, cracks, freeze-thaw movement, poor surface preparation, or an incompatible adhesive.
4. How long should I wait before refilling the fountain?
Use the manufacturer’s immersion or full-cure requirement rather than a generic 24-hour rule. Some products require substantially longer before they can safely remain underwater.
Final Thoughts
A fallen mosaic is often the first visible warning that water has already found a weakness somewhere in the fountain assembly. The dependable approach to how to fix loose mosaic tiles in outdoor water fountain surfaces is therefore less about finding the strongest glue and more about rebuilding a sound bond.
Drain and inspect the area, remove every weak layer, clean it thoroughly, correct cracks or moisture problems, and use a setting and grout system specifically approved for the exposure. Then respect the cure time. Five extra minutes of diagnosis before the repair can prevent another loose tile—and a much larger restoration—after the next season.