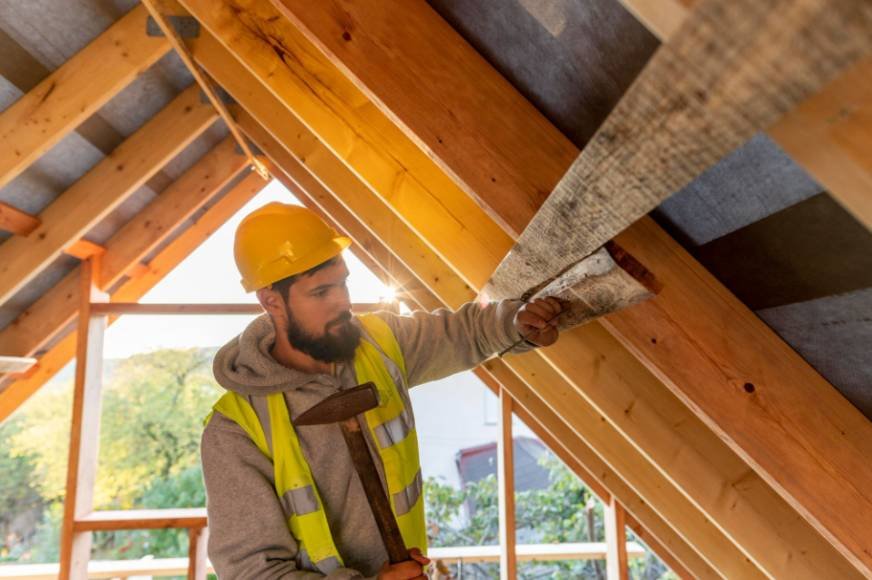

Ice dams can disappear after a warm spell while leaving expensive damage behind. Water trapped behind the ice may move beneath shingles, soak roof decking, reach attic insulation, and eventually stain ceilings or walls. That is why knowing what to check after ice dams damage a roof matters even when you no longer see active dripping.
For homeowners across snow-prone parts of the US, especially the Midwest, Northeast, and mountain states, I recommend inspecting the house systematically from the inside out. Start where hidden moisture is easiest to detect, then move to the roof edge, drainage system, and underlying cause.
Start by Checking Ceilings, Walls, and Window Areas
I would begin inside the house because ice dam leaks often become visible indoors before exterior roof damage is obvious.
Check ceilings and exterior-facing walls for brown or yellow water rings, active droplets, bubbling paint, peeling finishes, or swollen drywall. Pay close attention to corners and the areas surrounding window trim, especially below the section of roof where the ice dam formed.
Do not assume the roof leak is directly above the stain. Water can travel along roof decking, rafters, framing, and insulation before appearing several feet from the actual entry point.
A persistent musty odor can also indicate hidden moisture inside a wall cavity even when the surface looks dry.
Inspect the Attic for Wet Insulation and Moisture
The attic can reveal damage that is invisible from the living space.
Look at insulation beneath the affected roof area. Wet fiberglass may appear compressed, darkened, or flattened, while cellulose insulation can clump or compact after absorbing moisture. Damp insulation also performs less effectively, which can contribute to additional heat loss and future ice dams.
I would also check for musty odors, dripping water, frost accumulation, and signs that moisture has remained trapped for an extended period.
Not all damp insulation automatically requires replacement, but severely saturated, compressed, contaminated, or mold-affected material may need to be removed after the leak source is corrected.
Check Roof Sheathing and Rafters for Hidden Damage

Next, inspect the underside of the roof deck from the attic.
Look for damp plywood or OSB (Oriented strand board), dark water stains, streaking, rusty roofing fasteners, frost, swelling, or wood that appears soft or deteriorated.
Repeated wetting can cause roof sheathing to delaminate or rot. More serious damage may eventually create visible sagging.
If you notice sagging decking, deteriorated framing, or widespread moisture, I would contact a roofing professional rather than trying to inspect the roof from above.
If the roof deck feels spongy or shows signs of deterioration, read what to do if roof decking feels soft to understand the possible causes, warning signs, and repair steps before the damage worsens.
Look for Mold and Mildew After an Ice Dam Leak
Moisture trapped in insulation, framing, drywall, or roof decking can create favorable conditions for mold.
Watch for dark spotting, unusual discoloration, or persistent musty smells in the attic and affected rooms. Mold may also develop inside enclosed cavities where you cannot see it directly.
The goal is to dry affected materials quickly and correct the source of moisture. Larger contamination problems or extensive wet building materials may require professional remediation.
Check Shingles Once the Roof Is Safe to Inspect
When the snow and ice are gone, and conditions are safe, examine the roof from the ground or hire a professional roofer.
Look particularly closely at shingles near the eaves. Freeze-thaw cycles and moving ice can loosen seals and leave shingles curled, lifted, cracked, displaced, or missing.
Also watch for unusual granule accumulation around gutters and downspouts. Some granule loss is normal as asphalt shingles age, but sudden or excessive loss after severe winter weather can indicate additional wear.
A professional inspection may be necessary to determine whether water moved beneath the shingles and damaged the underlayment or ice-and-water membrane.
Check Flashing, Roof Valleys, and Penetrations
Shingles are not the only roofing materials that deserve attention.
Inspect vulnerable areas around chimneys, skylights, vent pipes, dormers, roof valleys, and roof-to-wall intersections. Flashing that has lifted, bent, separated, or deteriorated can create pathways for water during the next rainstorm.
Because these areas are difficult to inspect accurately from the ground, I would have a roofer examine them if you had significant leaking or recurring ice dams.
Chimneys are particularly vulnerable to leaks where flashing meets the masonry, so learn how to deal with roof damage around a chimney to identify common problem areas and understand which repairs may be needed to prevent recurring water intrusion.
Inspect the Fascia, Soffits, and Siding
Water backed up by ice can reach more than the roof surface.
Look at fascia boards behind the gutters for swelling, peeling paint, staining, softness, or decay. Inspect soffits for water marks or damaged materials.
You should also examine siding directly below the roofline. Water can work behind siding and remain hidden until staining, swelling, or deterioration becomes visible.
Soffit damage deserves particular attention because blocked or damaged soffit vents can reduce attic airflow and contribute to uneven roof temperatures.
Look Along the Roofline for Sagging
One of the more serious signs of winter damage is visible deformation.
Stand safely on the ground and look across the roofline, ridgeline, and eaves. Sections that appear bowed, dipped, or unusually uneven may indicate structural stress from snow and ice or moisture-related deterioration beneath the roofing.
Any noticeable sagging warrants prompt professional evaluation.
Check Gutters, Seams, and Downspouts
Gutters can carry a substantial amount of ice during an ice dam event.
Check whether gutters remain firmly attached to the fascia. Look for sections that have bent, buckled, sagged, or pulled away from the house.
Inspect gutter seams for splitting and downspout connections for loosening caused by expanding ice. Make sure water can flow freely through the drainage system once temperatures rise.
A damaged gutter system can send water behind fascia boards or toward the foundation rather than safely away from the home.
Find Out Why the Ice Dam Formed
Once you understand what to check after ice dams damage a roof, the next step is preventing the same problem next winter.
Ice dams often develop when heat escaping from the home warms the upper portion of the roof. Snow melts, runs toward the colder eaves, and freezes again.
I would inspect attic insulation, ventilation, and air-sealing conditions. Gaps around attic hatches, recessed lights, plumbing penetrations, electrical openings, and ductwork can allow warm indoor air into the attic.
Bathroom and kitchen exhaust ducts should terminate outdoors rather than dumping warm, moist air into the attic.
Soffit vents should remain clear of insulation and debris, while properly designed ridge or other exhaust ventilation should allow the roof assembly to breathe as intended.
Document Damage Before Major Repairs
If the damage is substantial, take clear photographs before permanent repairs begin.
Document interior stains, damaged shingles, wet insulation, fascia deterioration, sagging gutters, and any affected personal belongings. Record when you first noticed the problem and what emergency measures you took.
Homeowners insurance coverage varies significantly by policy and circumstances, so contact your insurer to determine what documentation they require and whether the damage qualifies for coverage.
Do not delay necessary emergency work simply to preserve evidence. Preventing additional damage should remain the priority.
When Should You Call a Professional Roofer?

I would arrange a professional inspection if you find active leaks, extensive staining, damaged shingles, roof sagging, deteriorated decking, compromised flashing, gutter separation, or widespread attic moisture.
You should also avoid climbing onto a roof that is wet, icy, steep, snow-covered, or potentially weakened.
A qualified roofing contractor can inspect areas homeowners cannot easily see, including underlayment, ice-and-water protection, flashing, valleys, decking, and vulnerable sections around the eaves.
Before authorizing the work, review these questions to ask before approving a roof repair to clarify the proposed repair scope, material choices, estimated costs, and any additional work needed to address hidden ice dam damage.
Frequently Asked Questions
1. Can an ice dam damage a roof without causing a ceiling leak?
Yes. Water can penetrate beneath shingles and soak underlayment, decking, or attic insulation without immediately reaching finished ceilings. That is why checking the attic after an ice dam is important even when the interior appears dry.
2. Does wet attic insulation always need to be replaced?
Not always. The decision depends on the insulation type, how saturated it became, how long it remained wet, and whether mold or contamination developed. Severely compressed or contaminated insulation may require replacement.
3. How can I tell whether roof decking has water damage?
Look for dark stains, swelling, softness, delamination, rusted fasteners, mold, frost, or sagging. Some decking damage may only become fully visible during professional roof repairs.
4. Can ice dams pull gutters away from a house?
Yes. Heavy ice can bend gutters, loosen fasteners, pull sections away from fascia boards, split seams, and loosen downspout connections.
5. Should I check my siding after an ice dam?
Yes. Water can move behind fascia and siding near the roof edge. Look for discoloration, swelling, peeling finishes, softness, or moisture around exterior walls and window openings.
6. What causes ice dams to keep coming back?
Recurring ice dams often result from a combination of attic heat loss, insufficient insulation, air leakage, and ventilation problems. Correcting these conditions can help keep the roof surface temperature more consistent.
7. What to check after ice dams damage a roof before the next storm?
Inspect shingles, flashing, roof decking, attic insulation, ceilings, walls, gutters, fascia, soffits, siding, and drainage. Address active moisture, sagging, or structural damage before additional snow or rain arrives.
Final Thoughts
Ice dam damage does not always disappear when the ice melts. Water may remain trapped in insulation, roof decking, walls, fascia, or other building materials long after the obvious leak stops.
I recommend checking the interior first, then the attic, roof surface, flashing, gutters, fascia, soffits, siding, and drainage system. Just as importantly, identify problems with insulation, air sealing, or attic ventilation that may have contributed to the original ice dam.
Learning what to check after ice dams damage a roof can help you catch moisture problems early, reduce the risk of mold and wood rot, and prevent a relatively small winter leak from turning into a much more expensive repair.