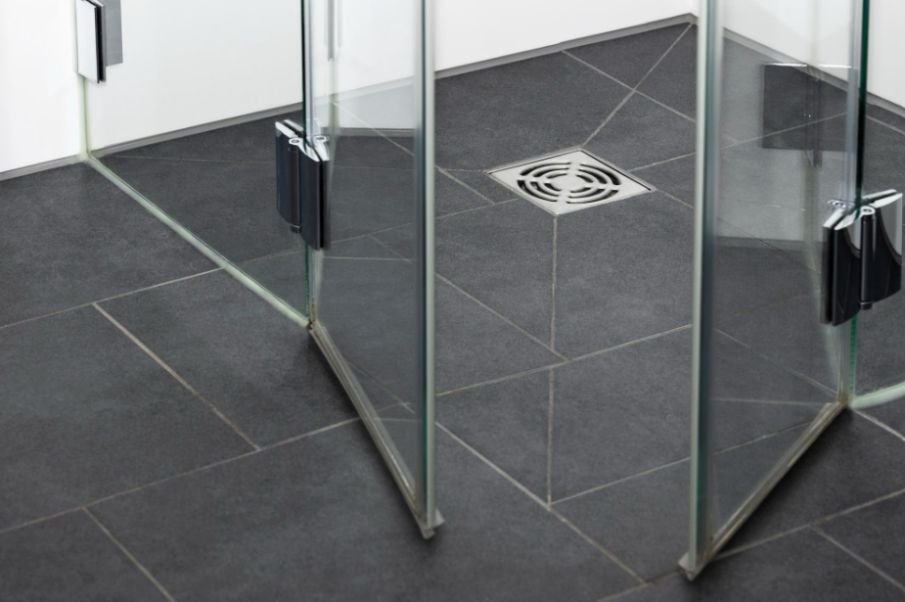

I notice unfinished tile edges almost immediately, even when the surrounding installation looks beautiful. A narrow strip of exposed ceramic or an awkward backsplash ending can distract from carefully chosen colors and patterns. That is why I consider tile edging options for a clean and finished look before selecting the final tile layout.
The right finish does more than improve appearance. It protects vulnerable edges and creates an intentional transition to painted drywall, another floor, or an outside corner. From rounded bullnose to slim metal profiles, the best choice depends on your tile, location, and installation stage.
Start With the Location and Tile Material
An exposed backsplash end needs a different treatment from a shower niche or doorway transition. Identify every visible edge before ordering materials, including window returns, shower curbs, countertop fronts, and half-wall tops.
Tile size also affects how you plan visible edges, grout joints, and transitions between surfaces. Before settling on a layout, compare the advantages of large-format tiles vs. small tiles to find an option that suits your space, design preferences, and finishing requirements.
Check whether those edges are factory finished or cut. Glazed ceramic often reveals a differently colored body when cut, while some natural stone can be professionally shaped and polished.
Also distinguish decorative edging from waterproofing. A trim strip protects and finishes an edge; it does not replace the waterproofing assembly behind shower tile.
Bullnose Tile for a Coordinated Finish
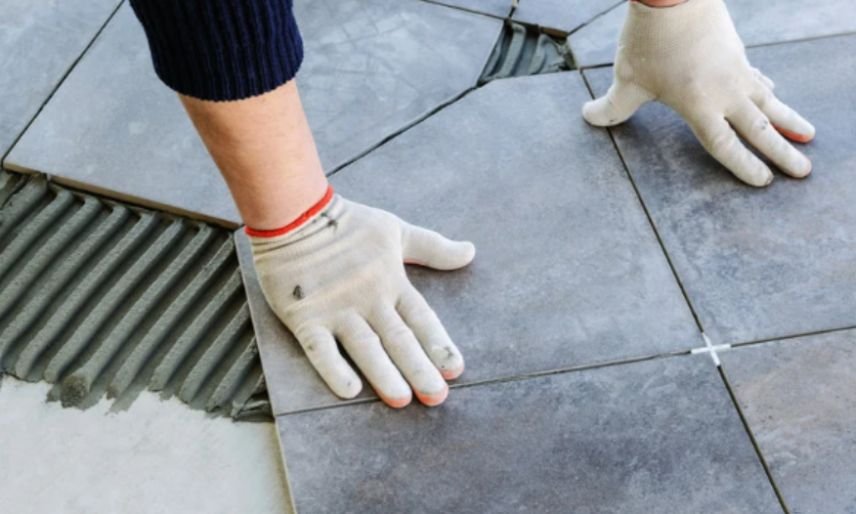
Bullnose tile has a rounded, finished edge that softens the transition between tile and an adjoining surface. It works especially well with subway tile, bathroom wainscoting, and traditional tub surrounds.
For kitchen projects, the right edge treatment can help tie the backsplash into the surrounding cabinetry and overall color scheme. If you are planning a bright, coordinated kitchen, explore these kitchen backsplash tile ideas for white cabinets for inspiration on pairing tile styles with white cabinetry.
Check the Available Shapes
Some collections offer long-edge bullnose, short-edge bullnose, and double-finished corner pieces. Confirm which shapes exist before planning the perimeter.
Matching trim may differ slightly in size or shade from the main tile. Compare actual samples, and account for trim dimensions when positioning grout joints. A coordinated border looks more deliberate when its joints align with the surrounding installation.
Metal Profiles for Crisp, Modern Borders
Metal edging creates a narrow, defined line along backsplash ends, shower openings, niches, and outside corners. Common materials include aluminum and stainless steel, with finishes ranging from brushed silver to matte black.
Choose the material for its environment as well as its appearance. Chemical exposure, cleaning products, and moisture conditions affect suitability.
Select the Correct Profile Height
Measure the actual tile and follow the profile manufacturer’s sizing instructions. Guessing from a nominal tile thickness can leave an awkward raised lip or insufficient edge protection.
Most standard profiles have an anchoring flange embedded beneath the tile during installation. Plan their placement before setting the perimeter row.
Pencil Trim and Decorative Moldings
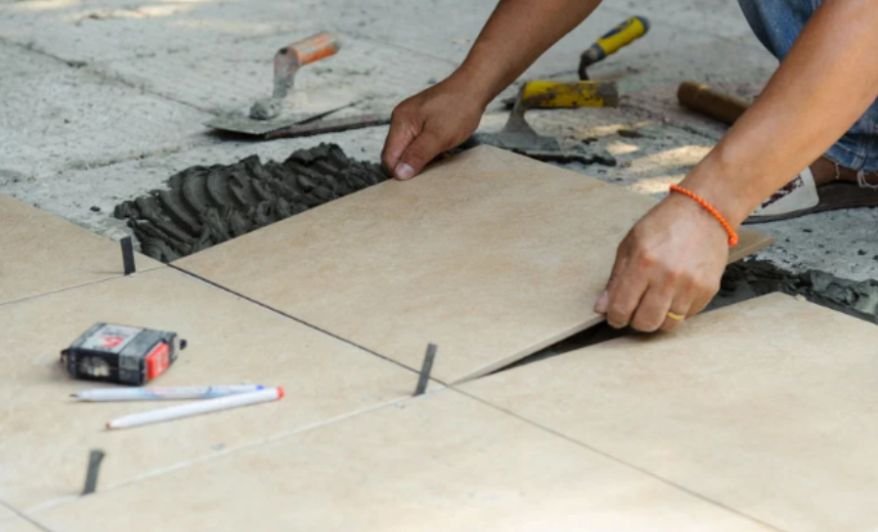
Pencil trim forms a narrow frame around a tiled area. Rounded, squared, and more decorative shapes can finish a backsplash or outline a bathroom accent panel.
Chair rails and other moldings create a more substantial border, particularly above wainscoting. However, a decorative piece only hides an exposed edge if its dimensions and finished surfaces suit the installation.
Check the end treatment, too. A beautiful molding can still leave an unfinished cut visible where the border stops.
PVC Edging for Suitable Budget Projects
PVC profiles can provide an economical finish for lighter-duty wall applications. They are available in different colors and shapes, making coordination relatively straightforward.
Compare samples carefully, since plastic and glazed tile reflect light differently. Confirm that the selected product suits the expected temperature, cleaning routine, and exposure.
For floors, stairs, and frequently bumped corners, choose a profile specifically designed for that application rather than substituting a general wall trim.
Mitered Corners and Custom Stone Edges
Mitering involves cutting adjoining tiles at complementary angles so they meet around an outside corner. This can create visual continuity on shower niches, fireplace surrounds, and tiled half walls.
The result depends heavily on accurate cutting and installation. Thin, sharp edges can chip, so discuss the corner detail with an experienced installer.
Natural stone offers another possibility: professional edge shaping and polishing. Results vary by material. Polishing a glazed ceramic edge will not recreate its factory glaze, and not every porcelain tile will produce an attractive exposed finish.
When Caulk or a Tile Return Makes Sense
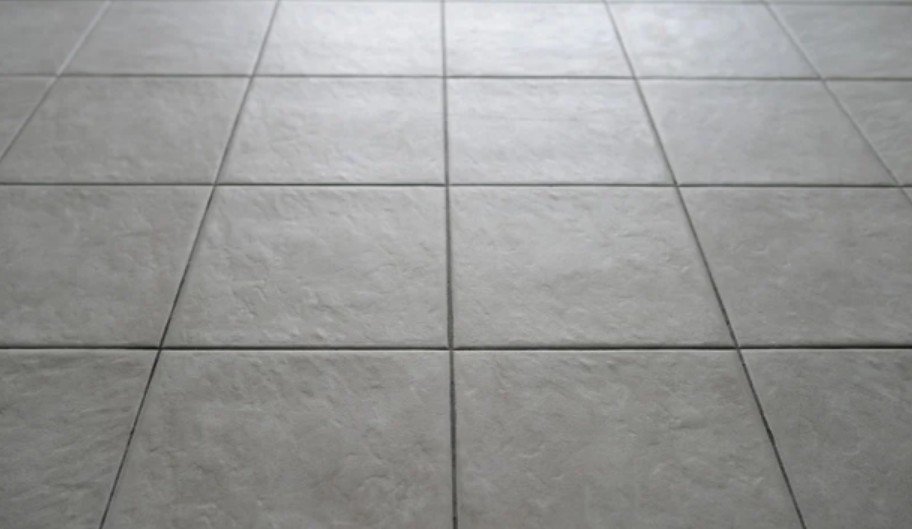
A neat sealant joint can finish the transition beside an already attractive, smooth tile edge. It cannot provide the same impact protection as a solid trim piece or conceal every rough cut.
Use a compatible sealant appropriate for the location, particularly at changes of plane and movement joints. Follow its preparation and curing instructions.
A tile return wraps the installation onto an adjoining surface. It can work around windows or half walls, but the remaining exposed edge still needs a planned finish.
Plan Corners, Transitions, and Installation Timing
Dry-stone the perimeter with the intended trim before mixing mortar. Check alignment, corner pieces, finished ends, and where the backsplash stops relative to cabinets.
When planning a backsplash around switches and sockets, precise tile cuts are just as important as a neat perimeter finish. Follow this guide on how to install mosaic tile sheets around electrical outlets for practical tips on fitting mosaic sheets neatly around electrical openings.
At doorways, assess both flooring heights. A transition profile or reducer serves a different purpose from decorative wall edging. Countertop fronts may need purpose-made V-cap pieces, while stairs require suitable nosing.
For existing installations, investigate retrofit products carefully. Standard profiles usually cannot simply slide beneath cured tile. Replacing the outer row may produce a better result than forcing an unsuitable trim into place.
Frequently Asked Questions
1. How do I compare tile edging options for a clean and finished look?
Start with the exposed location, tile material, and whether installation has begun. Then compare suitable finishes using samples. Include corner details and labor in your decision.
2. Can I finish tile without matching bullnose?
Yes. Suitable metal profiles, decorative trim, fabricated stone edges, or carefully executed miters may work. The best alternative depends on the tile and location.
3. Should edging match the faucet or the tile?
Either approach works. Matching the tile creates a quieter border, while coordinating with fixtures creates a visible accent. Compare finishes together under the room’s lighting.
Final Thoughts
I would choose tile edging options for a clean and finished look alongside the tile itself. Planning the border early makes it easier to align joints, order corner pieces, and avoid last-minute compromises. A finish suited to the location gives the entire installation a more thoughtful appearance.