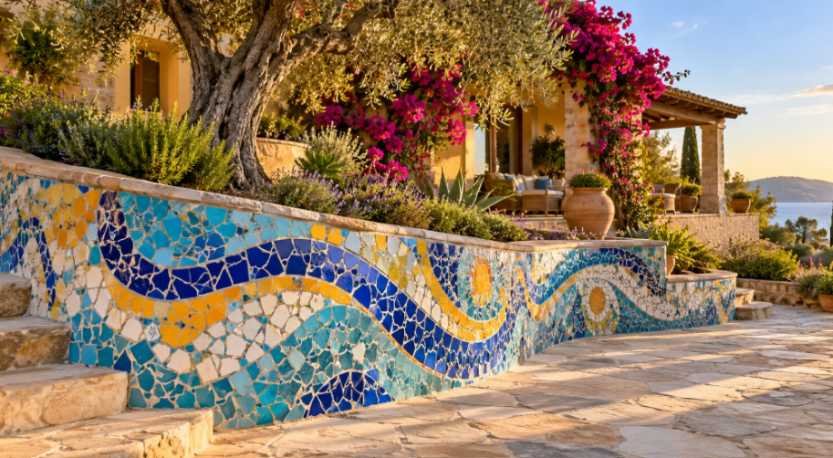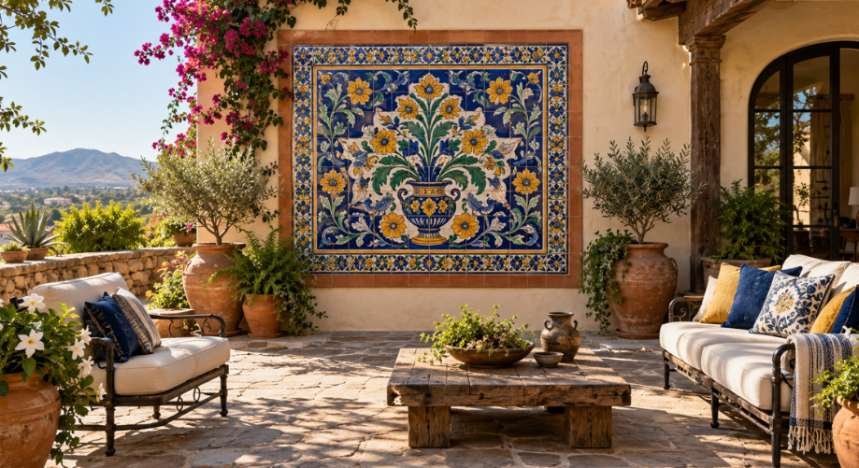

A standard address sign from a big-box store rarely matches the architectural personality of a curated home exterior. Gathering fresh hand painted mosaic house number plaque design ideas allows you to marry the fine, narrative detail of custom brushwork with the tactile, permanent surface of architectural tile.
Over fifteen years of designing outdoor mosaic installations, I have learned that merging liquid pigment with cut tesserae requires deliberate balance. When done correctly, your address marker becomes a durable work of art that guides guests directly to your doorstep.
+——————————————————-+
| [ 60% HIGH-CONTRAST NUMERAL FIELD ] |
| – Matte, dark tesserae |
| – Minimum 4-inch font height |
| |
| [ 30% HAND-PAINTED PICTORIAL ACCENT ] |
| – Sealed porcelain/underglaze motifs |
| – Botanical, Talavera, or scrollwork |
| |
| [ 10% FRAME & SHADOW BORDER ] |
| – Vitrified glass or stone rim |
| – Shields painted edge from perimeter water run-off |
+——————————————————-+
Balancing Paint Work with Vitrified Tesserae
Combining paint and mosaic requires clear spatial separation. Paint provides shading and micro-details that cut stone cannot replicate. Conversely, glass and ceramic tesserae deliver light refraction, structural volume, and frost protection.
The 60-30-10 Rule for Mosaic Legibility
The biggest hazard with handcrafted address markers is visual clutter. If your background pattern competes with the digits, your mail carrier will struggle to read your home number from the street.
I structure my custom mosaic house numbers using a strict visual ratio:
- 60% High-Contrast Numeral Field: Reserve the primary visual weight for the numbers. Lay these out with solid, high-opacity materials.
- 30% Hand-Painted Pictorial Accent: Dedicate this zone to your painted narrative, such as an olive branch, geometric scroll, or botanical cluster.
- 10% Geometric Frame: Use this perimeter border to lock the composition together and shield the raw cut edges of your base board from wind-driven rain.
According to visual visibility standards published by the USPS Residential Delivery Guidelines, address numbers must contrast starkly against their background to remain visible from the curb. If your numbers are light, paint your background deep navy, charcoal, or forest green.
Substrate Selection for Extreme Weather
Never build an exterior mosaic on standard plywood, marine plywood, or MDF. Moisture inevitably penetrates the grout lines. Plywood expands when wet, snapping your mortar joints and popping tiles off within a single season.
I use 1/2-inch cement backer board or extruded polystyrene core boards like Wedi. These materials meet the rigorous exterior guidelines outlined by The Tile Council of North America (TCNA). They resist rot, withstand heavy rain, and provide the exact mechanical texture required for thin-set mortar adhesion.
Traditional Mediterranean and Spanish Talavera Layouts
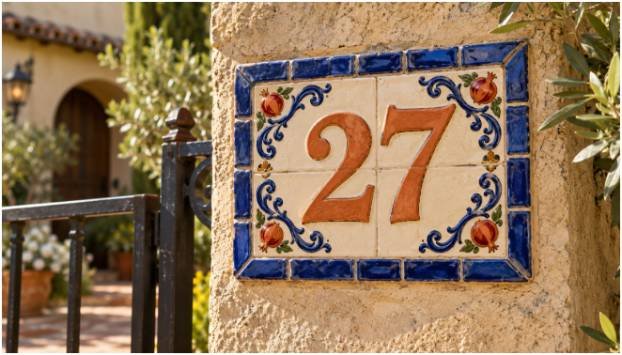
Traditional Iberian tile designs remain timeless because their bold geometry complements organic landscaping and earthy siding. Mediterranean homes framed by warm stucco or wrought-iron railings pair naturally with this visual weight.
+—————————————————+
| [COBALT CHAIN BORDER – 1/2″ Hand-Cut Tiles] |
| +———————————————+ |
| | (Hand-Painted Cobalt Scrollwork Corner) | |
| | | |
| | [ 4 8 2 ] <– Terracotta Orange | |
| | Solid Numbers | |
| | | |
| | (Hand-Painted Lemons & Pomegranate Base) | |
| +———————————————+ |
+—————————————————+
Cobalt Scrollwork and Terracotta Geometry
To execute this style, paint warm ochre, lemon branches, or acanthus leaves directly onto glazed ceramic bisques. Place these painted motifs inside the corners of your plaque.
For the background field surrounding your digits, set unglazed cream tiles or salvaged pieces of authentic mexican ceramic tile. Cut the border tesserae into uniform 1/2-inch squares using wheeled glass nippers. A repeating Greek key or cobalt chain-link mosaic border anchors the fluid hand-painted center, creating authentic Old World charm.
Modern Wildflower and Botanical Compositions
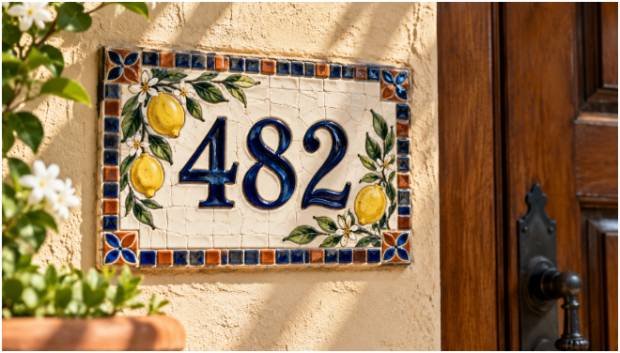
If your home features cottage gardens, timber framing, or craftsman trim, botanical layouts offer an organic transition from the landscape to your front entryway.
+—————————————————+
| PAINTED BACKGROUND: Sage & Lavender Stems |
| [Overlaid with 4mm Clear Vitreous Glass Matrix] |
| |
| # # ##### ##### ##### |
| # # # # # # # |
| ##### # # ##### ##### |
| # # # # # |
| # ##### # ##### |
| (Charcoal Porcelain Numbers – Raised Profile)|
+—————————————————+
Translucent Glass Over Painted Petals
Instead of painting on loose tiles, turn your cement backer board into a canvas. Sketch out lavender stems, coneflowers, or broad eucalyptus fronds using exterior acrylic gouache.
Once your painting cures, seal it with an exterior matte acrylic barrier. Then, set clear or pale sea-glass tesserae directly across the painted petals with clear polyurethane adhesive. The irregular glass facets catch natural sunlight throughout the day. This creates the illusion that the painted garden beneath shifts as the viewer walks up your path.
Use solid, matte-black porcelain tiles to assemble your address numbers. The dark, structured digits float visually above the shimmering, soft floral base.
Mid-Century Color Blocking and Architectural Lines
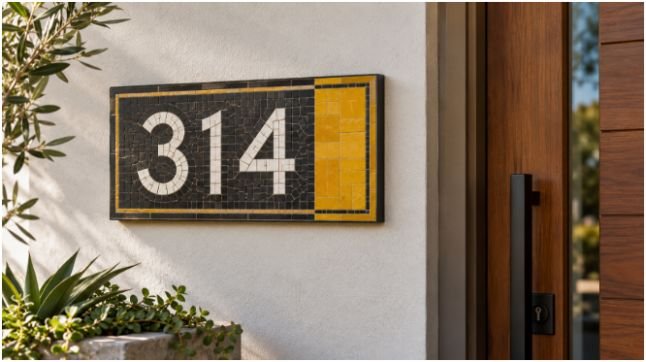
Mid-century modern homes demand sharp geometry, asymmetric weight, and uncluttered typography. Steer clear of ornate florals here; lean instead into crisp diagonal splits, rectangular offsets, and stark color planes.
+———————————+—————–+
| | |
| DEEP CHARCOAL FIELD | CANARY YELLOW |
| (Matte Porcelain Tesserae) | PAINT BLOCK |
| | (Gloss Clear |
| 3 1 4 | Tile Top) |
| [Cast White Numbers] | |
| | |
+———————————+—————–+
Contrast Ratios That Meet Courier Standards
Divide a long rectangular plaque into an off-center 70/30 split using painter’s tape. Coat the smaller section in a bold accent color—such as canary yellow, pumpkin orange, or bright teal—using high-grade porcelain enamel. Coat the wider field in deep slate gray.
Mount flat, cast aluminum numbers or clean-lined, square-cut ceramic tiles on the dark field. Frame the colored accent section using thin offcuts of exterior accent wall tile to echo the brick, siding, or masonry found elsewhere on your facade. The dynamic, asymmetric split feels intentional, contemporary, and sharp.
Field-Tested Installation Secrets That Prevent Cracking
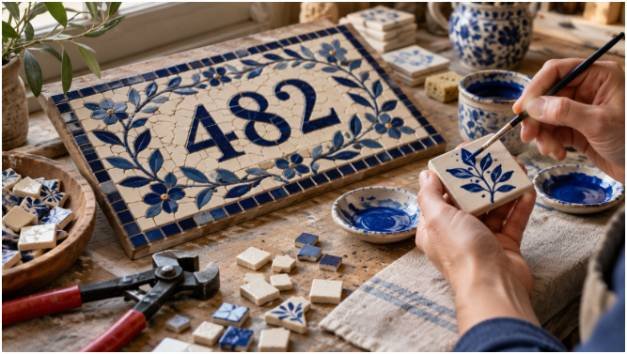
Outdoor mosaics face extreme thermal movement. Sunlight bakes the surface, followed by sudden rainstorms that shock the assembly. The Portland Cement Association highlights that temperature swings create shear stress between disparate materials like glass, glaze, and cement.
[CROSS-SECTION: WEATHER-RESISTANT PLAQUE ANATOMY]
Layer 1: Penetrating Silane-Siloxane Grout Sealer
Layer 2: Polymer-Modified Exterior Sanded Grout
Layer 3: Vitrified Glass / Glazed Ceramic Tesserae (1/4″ – 3/8″ thick)
Layer 4: Hand-Painted Artwork sealed with UV-Resistant Acrylic Resin
Layer 5: ANSI A118.4 Polymer-Modified Exterior Thin-Set Mortar
Layer 6: 1/2″ Cement Backer Board (Cored with Fiberglass Mesh)
Neutralizing Thin-Set Alkalinity on Paint
The most common failure point for painted mosaic signs occurs beneath the tile. Standard craft paint cannot handle the chemical makeup of setting materials. Portland cement thin-sets are highly alkaline, carrying a pH of 12 to 13 during application. This caustic environment chemically burns delicate paints, turning vibrant greens into muddy browns and dissolving binders within months.
Take these steps to guarantee permanent outdoor survival:
- Fire or Cure Your Pigments: Use heat-cured porcelain paints. Once cured, bake them per manufacturer instructions so the resin links fully.
- Apply an Isolating Membrane: Brush two coats of an elastomeric waterproofing sealant over the painted sections before applying mortar.
- Select the Right Adhesive: Bond your tesserae using an ANSI A118.4 polymer-modified thin-set mortar. Avoid mastic adhesives; they re-emulsify when exposed to moisture.
- Choose Sanded Grout with Latex Additives: Fill joints with polymer-modified exterior grout. The latex polymers provide tensile flexibility during freeze-thaw cycles.
- Lock Out Moisture: Let the assembly dry for 72 hours, then apply a penetrating silane-siloxane sealer over the entire surface.
Studies from The National Park Service Historic Preservation Briefs on architectural ceramics confirm that unsealed grout allows micro-fissures to expand when water freezes. Sealing your grout joints stops this expansion entirely.
Frequently Asked Questions About Mosaic Address Signs
1. How high should house numbers be on an exterior mosaic plaque?
House numbers should measure at least 4 inches high to ensure emergency personnel and couriers can spot your address from the street.
2. What paint holds up best outdoors under mosaic tile grout?
Porcelain enamel paints that heat-cure in an oven provide the strongest chemical and moisture resistance beneath exterior tile setting beds.
3. Can I hang a heavy concrete mosaic plaque on vinyl siding?
Yes, but you must anchor your mounting screws directly into the wall studs beneath the siding using specialized vinyl siding standoff brackets.
4. How often should I reseal an exterior mosaic house plaque?
Apply a fresh coat of penetrating grout sealer every two years to maintain waterproofing and preserve your paint against UV discoloration.
Time to Fire Up the Tile Nipper
Stop settling for peel-and-stick mailbox numbers or generic metal plates. Designing a hand-painted mosaic house number plaque lets you solve a basic functional requirement while displaying authentic craftsmanship right at your front door.
Sketch your layout on paper, establish strong value contrast for your digits, and seal your painted elements against moisture before setting your tesserae. Once your board cures, bolt your sign securely to the porch frame and enjoy an entryway upgrade built to outlast decades of harsh weather.