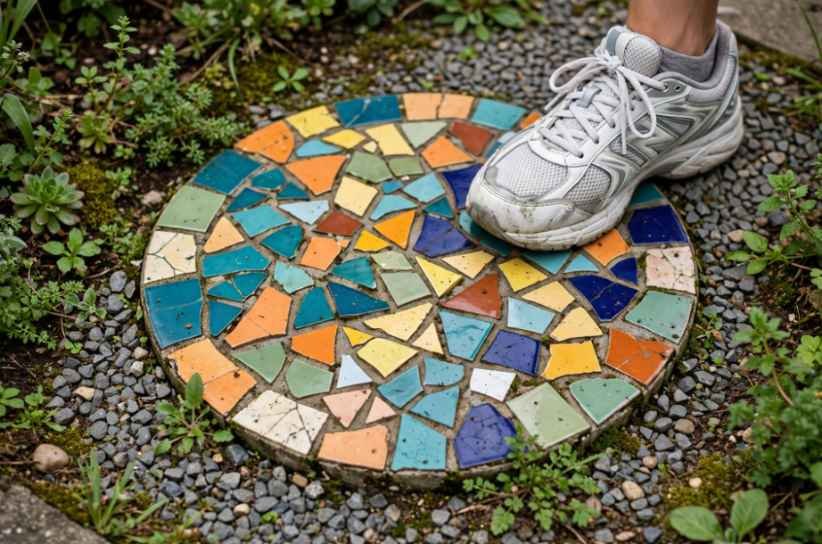
A beautiful mosaic stepping stone can fail long before the ceramic pieces themselves do. Water usually finds its way into grout, mortar, or concrete first; once temperatures fall below freezing, that trapped moisture can expand and gradually crack the assembly.
That is why learning how to create a broken ceramic tile mosaic stepping stone is partly an art project and partly a small outdoor construction job. The colorful pattern gets attention, but the base, adhesive, grout, drainage, and curing determine whether you will still be walking on it several seasons later.
For most first-time projects, I recommend starting with a precast concrete paver rather than pouring a stone from scratch. It removes several variables while still giving you complete freedom over the mosaic design.
Choose an Outdoor-Safe Method Before Breaking Any Tile
There are two practical ways to build the stone.
The easiest is the direct method: attach broken ceramic pieces to an existing concrete stepping stone with exterior-rated cement-based mortar, let it cure, and grout the joints.
The second method is to pour concrete into a mold and incorporate the mosaic into the new stone. It provides more control over shape and thickness but requires more attention to concrete mixing, curing, reinforcement, and weather conditions.
Cornell University’s garden-based learning program specifically recommends exterior cement-based adhesive for mosaics on ceramic or concrete bases and water- and frost-resistant cement and grout for outdoor projects.
If this is your first mosaic, the DIY mosaic projects for beginners guide is also useful for getting comfortable with basic layout and material choices before tackling a walking surface.
Gather Materials That Can Handle Foot Traffic and Weather
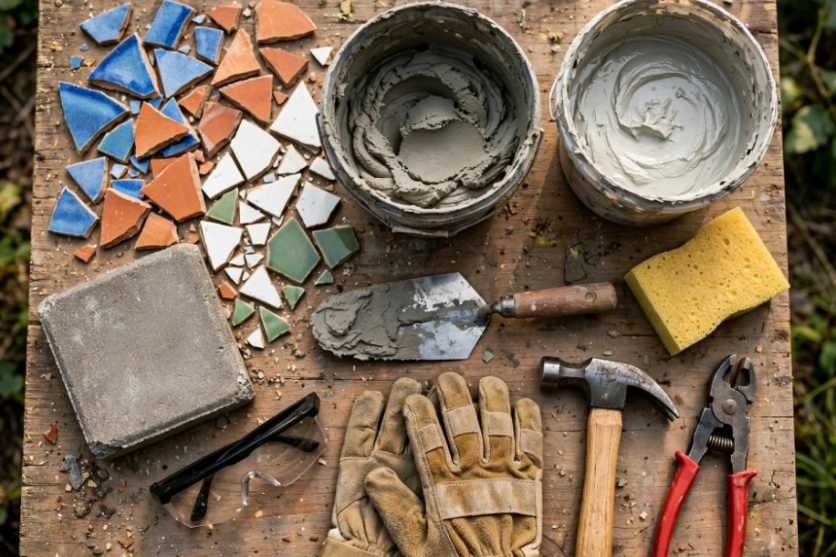
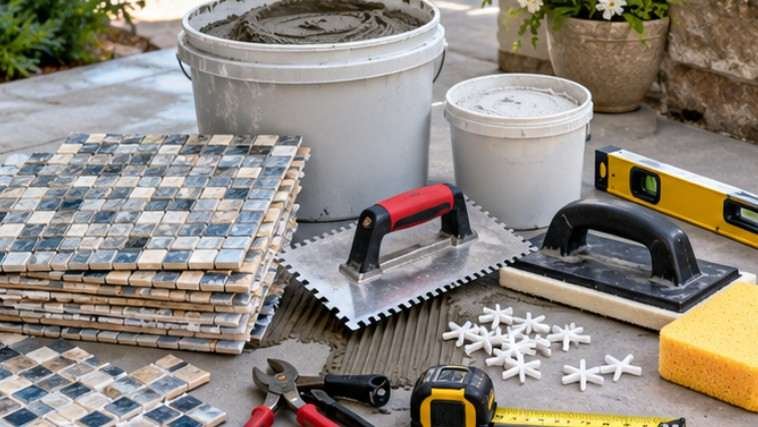
You will need broken ceramic tile or unwanted ceramic dishes, a concrete paver or concrete mold, exterior-rated thin-set mortar, exterior grout, a grout float or flexible spreader, a sponge, buckets, and an appropriate penetrating grout sealer.
Keep safety glasses, sturdy work gloves, long sleeves, and closed-toe shoes nearby. A tile nipper is especially useful because it gives you far better control over the shape of individual pieces than smashing everything with a hammer.
Before reusing decorative leftovers, check whether the tile itself is appropriate for outdoor exposure. The advice in this guide on choosing tiles for a home project can help you distinguish decorative material from tile suited to more demanding applications.
Do Not Ignore Ceramic Dust
Breaking pieces with a hammer mainly creates flying fragments, but cutting or grinding tile can produce fine airborne dust.
NIOSH notes that cutting ceramic tile can expose workers to silica-containing dust and recommends dust-control methods such as wet cutting where appropriate.
For a simple craft project, avoid unnecessary dry grinding. Use nippers where possible and follow the tool manufacturer’s safety instructions whenever powered cutting equipment is involved.
Step 1: Break and Sort the Ceramic
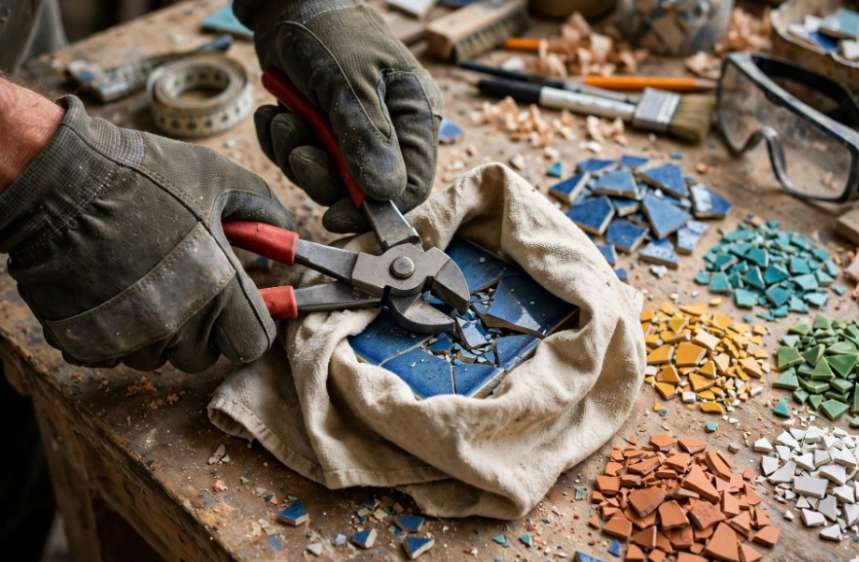
Place ceramic tile or old plates inside a thick folded towel before tapping them with a hammer. Use controlled blows rather than trying to pulverize the material.
Sort the resulting pieces into groups by color, size, and thickness. Remove needle-like shards and pieces with unstable cracks.
Ideally, most pieces in one stepping stone should have similar thicknesses. A thin shard beside a thick floor-tile fragment can leave an uncomfortable ridge that is difficult to correct with grout.
The OSHA guidance on cutting hazards and personal protective equipment recommends eye or face protection against flying fragments and gloves to help prevent cuts and abrasions—precautions that also apply when handling sharp mosaic pieces.
Step 2: Dry-Lay the Pattern First
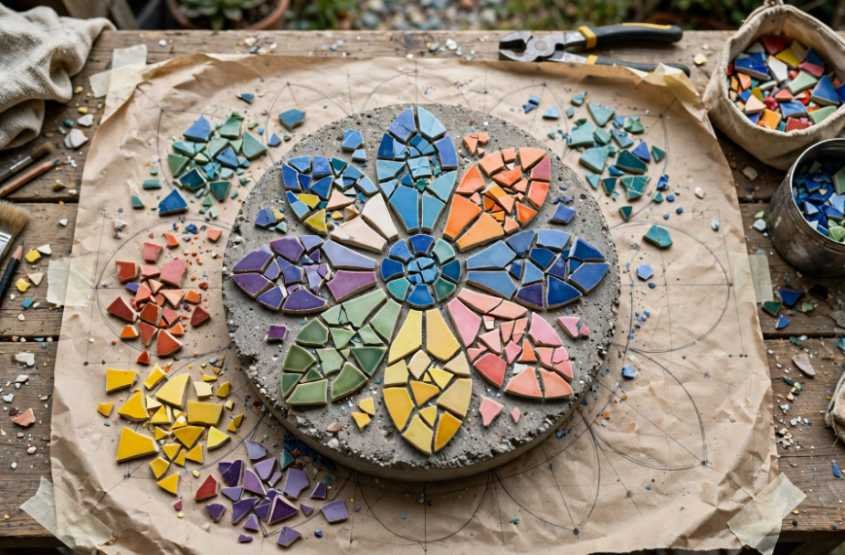
Trace the outline of your paver onto kraft paper, cardboard, or newspaper and arrange the pieces inside it.
Aim for joints of roughly 1/8 to 1/4 inch where practical. You do not need laboratory-perfect spacing, but extremely wide gaps create large grout areas while pieces packed too tightly become difficult to grout properly.
Try flowers, geometric rings, spirals, abstract color fields, initials, or a random broken-china pattern.
Then perform what I call the sock test: lightly run a gloved hand across the dry arrangement. Any corner that already feels unusually high or pointed is likely to become uncomfortable under a shoe.
Step 3: Bond the Mosaic to a Concrete Paver
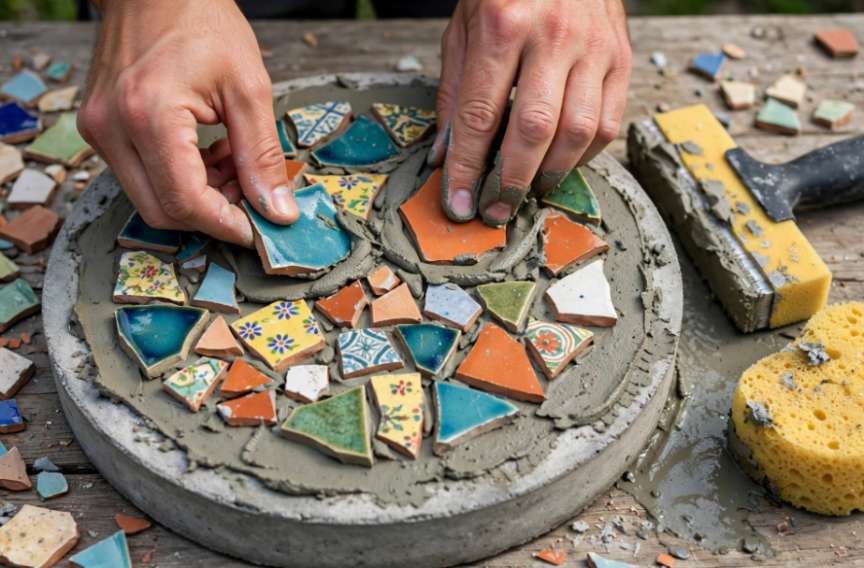
Clean the paver thoroughly. Dirt, algae, loose concrete, paint, and dust interfere with bonding.
Mix exterior-rated thin-set according to its manufacturer’s directions. Apply only enough mortar for the area you can tile before it begins skinning over.
Press each ceramic piece firmly into the mortar while preserving your grout gaps. Check the surface from several angles and correct pieces that stick noticeably above their neighbors.
Avoid burying the ceramic under excessive mortar. The goal is strong support beneath each piece without filling the joints completely.
Leave the assembly undisturbed for the curing period specified by the mortar manufacturer. A full day or longer is common, but the product instructions should control your schedule.
What If You Want to Pour the Stepping Stone?
Use a sturdy mold and a concrete product intended for exterior exposure. In freeze-thaw regions, the concrete itself deserves special attention.
The American Concrete Institute’s explanation of concrete freeze-thaw resistance describes how microscopic air bubbles help protect concrete by providing space for water to expand as it freezes.
According to the University of Illinois reference on air-entrained concrete, properly air-entrained concrete can withstand repeated freeze-thaw cycles while maintaining its durability.
For DIY work, the simplest approach is to choose a packaged exterior concrete mix suitable for your climate and follow its water ratio and curing directions rather than modifying the recipe yourself.
Step 4: Grout Without Hiding the Mosaic
After the bonding layer has cured, mix an exterior-rated grout suitable for your joint width.
Work the grout diagonally across the mosaic with a rubber float, forcing it completely between the pieces. Empty pockets become places where water can collect and edges can lose support.
Remove excess grout, allow the surface to firm slightly according to the grout instructions, then wipe the ceramic gently with a damp sponge.
Do not flood the stone with water during cleanup. Repeatedly soaking fresh cementitious grout can interfere with curing and weaken its surface.
Step 5: Cure, Seal, and Install It Correctly
Give the finished mosaic adequate curing time before exposing it to rain or foot traffic.
For additional protection against outdoor moisture, learn how to seal hand-painted ceramic tiles for outdoor use and choose a sealing method compatible with the tile finish and intended exposure.
A compatible penetrating sealer can reduce water and stain absorption in cement-based grout, but do not treat sealer as a waterproofing system. Reapplication schedules vary, so follow the specific product instructions.
The National Park Service’s ceramic tile preservation guidance identifies moisture as a major cause of ceramic tile deterioration, explaining how water can damage grout and mortar and eventually loosen tiles.
Set the finished stone on a stable, well-drained bed rather than in a low spot that regularly holds water.
A Five-Point Outdoor Durability Check
Before putting the stepping stone into service, check five things:
- No tile edge feels sharp or catches the sole of a shoe.
- Every ceramic fragment feels solid rather than hollow or loose.
- Grout completely fills the joints without obvious deep voids.
- The stone has received the manufacturer’s required curing time.
- Its final location drains instead of leaving the concrete submerged after rain.
If one of those checks fails, fix it before putting the stone into your walkway.
The same attention to moisture protection applies to outdoor furniture, and these tips on how to waterproof an outdoor tile tabletop offer additional ideas for protecting tiled surfaces from weather exposure.
Common Problems and Their Causes
A tile piece comes loose
The likely causes are inadequate mortar coverage, a dirty base, interior-only adhesive, or movement before curing finished. Remove the loose piece, clean the area, and rebond it with compatible exterior mortar.
Grout cracks after one winter
Freeze-thaw exposure, excessive water, movement, poor drainage, or inappropriate grout may be responsible. Repairing the grout alone will not solve a stone that repeatedly remains saturated.
If outdoor mosaic tiles develop surface deterioration or discoloration from harsh cleaning chemicals, this guide on repairing acid-damaged outdoor stone mosaic tiles explains the relevant repair considerations.
The surface feels uncomfortable
Do not simply add a thick layer of grout over sharp pieces. Replace or carefully reshape the offending fragments while maintaining a reasonably level walking surface.
Frequently Asked Questions
1. Can I use broken dinner plates for a mosaic stepping stone?
Yes, provided the ceramic is structurally sound and suitable for outdoor exposure. Avoid fragile pieces, deep cracks, extremely uneven thicknesses, and razor-sharp edges.
2. What adhesive works best for outdoor ceramic mosaics?
Use an exterior-rated cement-based thin-set mortar compatible with both ceramic tile and concrete. Avoid ordinary craft glue or interior mastic for a stepping stone exposed to weather.
3. How wide should mosaic grout lines be?
About 1/8 to 1/4 inch works for many broken-tile patterns, although the correct grout and joint width should always follow the grout manufacturer’s specifications.
4. Does sealing make a mosaic stepping stone waterproof?
No. Penetrating grout sealers can reduce moisture absorption and staining, but drainage, proper mortar, suitable tile, sound concrete, and correct installation remain more important for long-term outdoor durability.
Final Thoughts
Learning how to create a broken ceramic tile mosaic stepping stone turns material that might otherwise become waste into something personal enough to become part of a garden for years. The artistic side can be spontaneous; the construction side should not be.
Start with a stable concrete base, control the height of each fragment, use exterior-rated mortar and grout, cure everything patiently, and place the stone where water can escape. The finished mosaic does not need mathematically perfect joints or matching colors. It needs secure pieces, a comfortable walking surface, and a foundation capable of surviving the weather. Get those details right, and broken ceramic suddenly becomes one of the strongest visual features in the path.