
I like choosing tile colors and patterns, but I give the measurements just as much attention. A beautiful design can quickly become frustrating when the final row needs another box, especially if matching stock is unavailable.
When I explain how to calculate tile quantities for your next project, I start with three numbers: the area being tiled, an appropriate allowance for cuts, and the coverage printed on the carton. Working through those numbers helps prevent shortages without buying unnecessary stacks of material.
Start With the Tile Ordering Formula
The simplest purchasing formula is:
Boxes needed = tiled area × (1 + overage percentage as a decimal) ÷ coverage per box.
Round the final answer up to a whole box. For example, a 10% allowance becomes 0.10, so you multiply the tiled area by 1.10.
This formula estimates an order rather than producing a detailed cutting plan. Room shape, tile dimensions, pattern placement, and reusable offcuts can affect the final requirement.
Before measuring, decide where the tile will start and stop. Include floors, wall sections, backsplash extensions, and other surfaces shown in your design.
Measure Each Surface Accurately

Floors and Irregular Rooms
For a rectangular floor, multiply length by width. A room measuring 10 feet by 12 feet contains 120 square feet.
Divide an L-shaped room into separate rectangles. Calculate each rectangle, then add the results. Keep the sections separate on your sketch so you do not count overlapping areas twice.
Measure alcoves, closets, and door recesses if they will receive the same flooring. Check dimensions in several places because walls may not run perfectly parallel.
Walls and Backsplashes
For walls, multiply the tiled width by the tiled height. Measure each wall independently and add the totals.
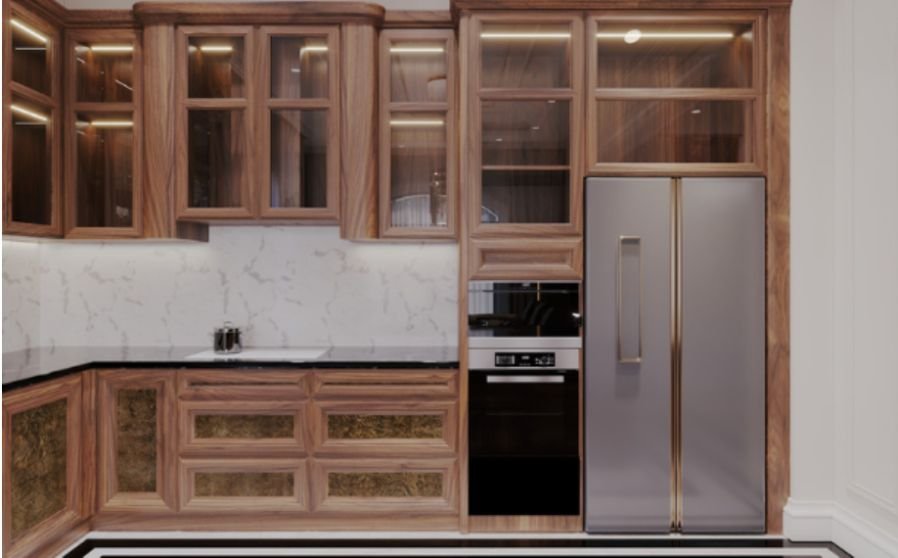
Kitchen backsplash projects can involve changing heights, window openings, and different tile patterns, so careful measuring is especially important before ordering materials. If you are still deciding on the style, color, or layout, explore these kitchen backsplash tile ideas for white cabinets to compare design options before finalizing your measurements and tile quantity.
A backsplash often needs several calculations because the height changes behind a range or around a window. Include any additional strip exposed when removing an existing countertop lip.
Subtract substantial openings that will remain untiled, then add tiled window returns, niche interiors, or similar surfaces separately.
Keep Feet and Inches Consistent
Mixing units can distort an otherwise careful estimate. Six feet six inches equals 6.5 feet, rather than 6.6 feet.
Convert inches to decimal feet by dividing by 12. Alternatively, measure everything in inches, multiply length by width, and divide the result by 144 to obtain square feet.
For example, a backsplash measuring 96 inches wide and 18 inches high covers 1,728 square inches. Dividing by 144 gives 12 square feet.
Keep the calculator’s precision through intermediate steps. Round the purchasing quantity at the end.
Choose an Appropriate Overage Allowance

Extra tile covers cutting losses, accidental breakage, and material selection. A straightforward rectangular installation may use a 10% planning allowance, while intricate patterns or specialty materials may require more.
Treat these figures as starting estimates. Confirm the allowance with your supplier or installer after reviewing the actual layout.
When estimating tile quantities for outdoor projects, consider the installation environment as well as the amount of material needed. Tiles exposed to freezing temperatures may require specific protection and care, so check the product’s suitability for the local climate before ordering. These recommendations on how to protect Talavera tile from freezing weather offer additional considerations when planning an outdoor tile project.
Patterns and Specialty Shapes
Diagonal layouts, herringbone patterns, and irregular boundaries can create additional offcuts. Large tiles may also produce substantial waste when narrow perimeter pieces cannot be reused elsewhere.
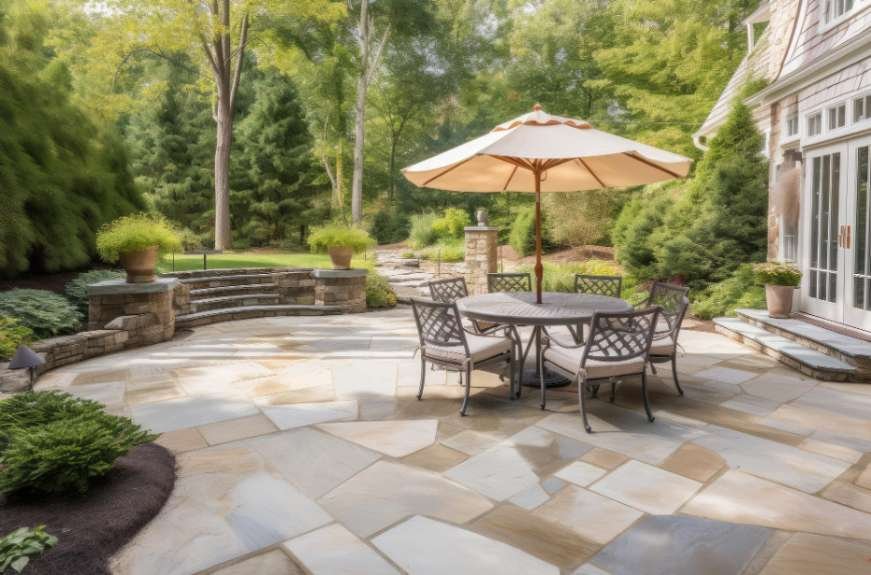
Outdoor patio projects can require extra planning because the tile pattern, surface dimensions, and perimeter cuts all affect the quantity needed. Before placing an order, map out the intended arrangement and account for the additional material required around edges and corners.
These tips on how to lay mosaic tile on an outdoor patio can help you understand the installation considerations before finalizing your material estimate.
Handmade tile and natural stone may require extra material for selecting a balanced appearance. Decide whether future replacement pieces are included in your allowance or reserved separately.
Convert Area Into Tiles, Sheets, or Boxes
For an individual rectangular tile, multiply its dimensions in inches and divide by 144. A tile measuring exactly 12 by 24 inches covers two square feet.
However, product names may describe nominal dimensions. For purchasing, use the manufacturer’s stated coverage per carton whenever available.
For mosaics, check the coverage per sheet or box. An interlocking sheet advertised as approximately 12 inches square does not automatically provide exactly one square foot of installed coverage.
Calculate each tile product separately. Floor tile, accent tile, and backsplash mosaics cannot share one combined box calculation.
Follow a Complete Ordering Example
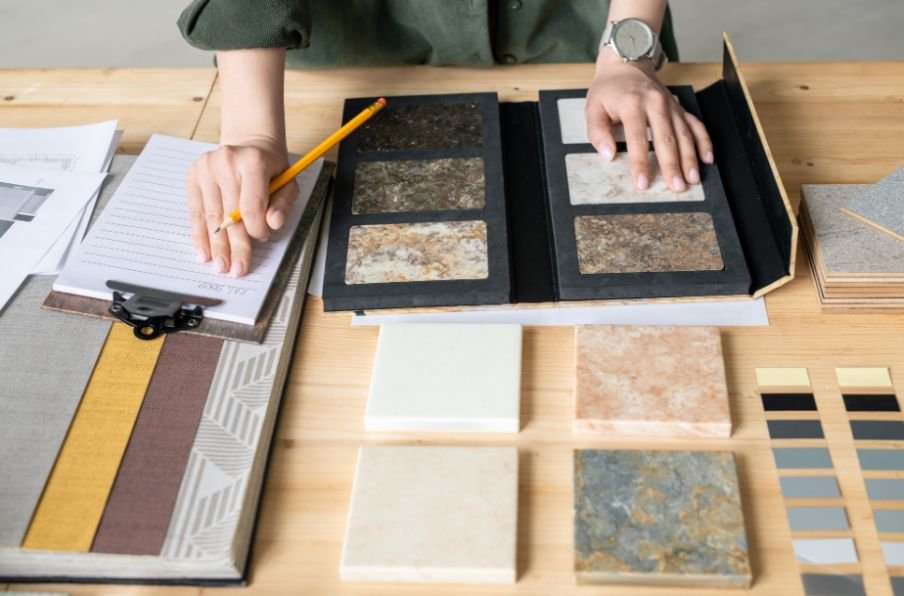
Here is how to calculate tile quantities for your next project using a hypothetical rectangular floor. The floor measures 10 by 12 feet, giving 120 square feet. With a selected 10% allowance, multiply 120 by 1.10 to reach 132 square feet.
Suppose the chosen carton covers 15.5 square feet. Divide 132 by 15.5 to get approximately 8.52 boxes. Round up and purchase nine boxes. Those cartons provide 139.5 square feet altogether. The difference comes from buying complete cartons; you do not need to add another automatic waste percentage afterward.
Check Trim, Grout Joints, and Ordering Details
Measure exposed edges separately for bullnose, pencil trim, or profiles. Convert the required length into pieces using the selected product’s dimensions, allowing for corners and cuts.
Grout joints influence the layout, but avoid subtracting an estimated grout area from your order. Use the product’s coverage information and review tight quantities against a layout drawing.
Before paying, confirm the product code, available quantity, shade or production-lot information, delivery schedule, and return conditions. Keep packaging details with any spare tile.
Frequently Asked Questions
1. What is the easiest way to understand how to calculate tile quantities for your next project?
Measure the tiled area, apply an appropriate overage allowance, divide by the labeled carton coverage, and round up. Calculate different products separately.
2. Should I subtract electrical outlets?
Small openings generally offer little useful material saving because surrounding tiles still require cuts. Subtracting every outlet can make an estimate unnecessarily tight.
3. Does a tile calculator replace a layout plan?
A calculator estimates material by area. A layout plan helps identify cuts, pattern alignment, and opportunities to reuse offcuts, particularly in complicated spaces.
4. Should I keep leftover tiles?
Keep usable matching pieces for future repairs. Store them securely with the product and batch information so replacements are easier to identify.
Order With Confidence
I find tile ordering easier when I separate measuring, overage, and carton rounding into distinct steps. Before buying, I would check every surface against the design and ask the installer to review complicated cuts. That final check helps turn a reasonable estimate into a practical order while preserving matching material for later repairs.