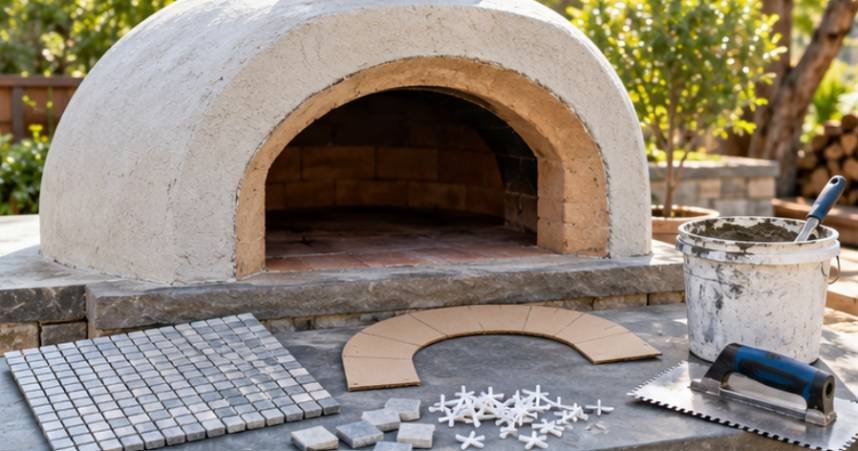
Water—not foot traffic—is often the biggest threat to an outdoor mosaic floor. Moisture that works beneath tile can weaken bonds, contribute to cracking, and become especially destructive when freezing temperatures enter the picture.
That is why learning how to lay mosaic tile on outdoor patio surfaces involves much more than spreading mortar and pressing down decorative sheets. A successful installation starts with drainage, sound concrete, exterior-rated materials, good mortar coverage, and room for seasonal movement. Done correctly, mosaics can turn ordinary concrete into a durable, highly detailed outdoor surface without sacrificing practicality.
Start With the Patio, Not the Tile
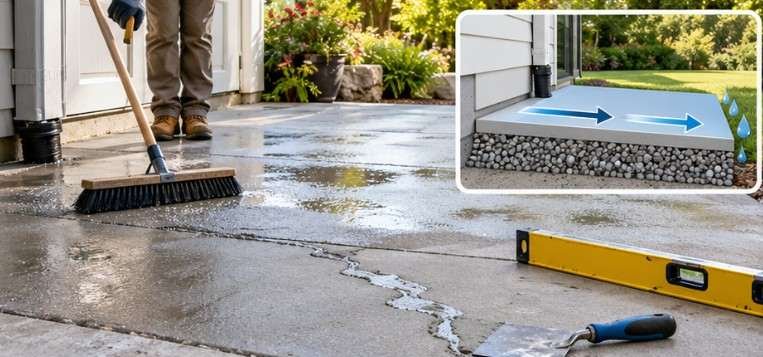
Before buying mosaic sheets, inspect the concrete beneath them. The slab should be structurally sound, reasonably flat, clean, and free from coatings that prevent mortar from bonding. Oil, paint, old sealers, curing compounds, loose concrete, and heavy dirt must be removed rather than simply covered.
Small inactive defects may be repairable. The University of Missouri Extension provides practical guidance for repairing cracks in concrete, including cleaning damaged areas before introducing repair material.
Active cracks are different. If a crack continues widening, shifting, or changing seasonally, tiling directly across it is risky. The tile assembly may eventually reproduce the same crack.
Check the Drainage Before Proceeding
Place a long level or straightedge on the patio and determine where rainwater will travel. A patio beside a house should drain away from the foundation. The U.S. Department of Energy’s Building America guidance recommends about a 2% slope—roughly 1/4 inch per horizontal foot—for patio drainage slabs and similar hard surfaces near a home.
Do not attempt to correct a badly back-pitched patio merely by adding more tile mortar. Drainage problems should be solved before decorative work starts.
Choose Mosaic Tile That Can Actually Live Outdoors
Not every attractive mosaic belongs on a patio. Look for porcelain, vitreous glass, or another mosaic specifically approved by its manufacturer for exterior floor use. In climates with cold winters, confirm frost resistance instead of assuming a low-absorption tile is suitable.
The reason is straightforward. Water inside porous materials expands when it freezes. The University of Illinois Concrete Microscopy Library documents the cracking and surface deterioration associated with repeated freeze-thaw damage.
Also consider traction. Highly polished glass or stone may become uncomfortable or slippery when wet, even if it survives outdoor exposure. For design inspiration before committing to colors and patterns, reviewing current interior design trends can help you coordinate the patio with adjoining indoor and outdoor spaces.
Build a Small Outdoor Installation Kit
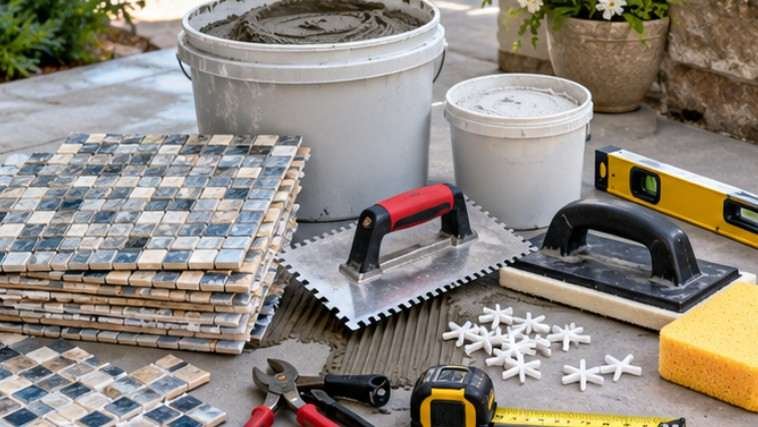
For most concrete patio installations, I would prepare exterior-rated mosaic sheets, polymer-modified thin-set mortar compatible with the tile, grout approved for exterior exposure, buckets, a drill-mounted mixing paddle, a notched trowel, grout float, straightedge, level, sponge, utility knife, tile nippers, and a suitable wet saw.
A 1/4-by-1/4-inch square-notch trowel can be a useful starting point for some mosaics, but the correct notch depends on the tile, substrate, and mortar. Coverage matters more than blindly following a trowel measurement. Wear eye protection when cutting tile, and follow the safety instructions supplied with cutting equipment and cement-based products.
Dry-Lay the Pattern Before Mixing Mortar
Mosaic sheets make layouts look foolproof. They are not. Arrange several sheets without adhesive and inspect the joints carefully. The gap between two sheets should visually match the spacing between individual pieces within each sheet.
Establish a straight reference line from a visually important edge rather than automatically beginning against the nearest wall. On a rectangular patio, test several starting positions so you do not finish with tiny fragments around one side.
Cut mesh backing with a utility knife where possible. Individual ceramic or glass pieces can then be trimmed separately with tools recommended for that material.
For anyone interested in experimenting with patterns before working at patio scale, a smaller mosaic picture frame project is useful practice for spacing and handling individual pieces.
Set the Mosaic in Manageable Sections
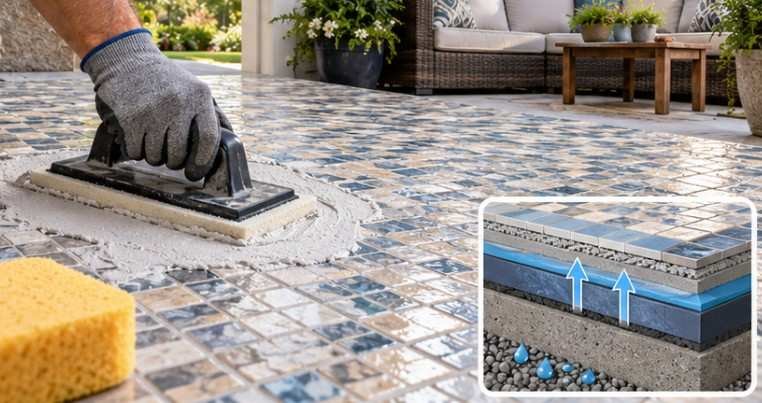
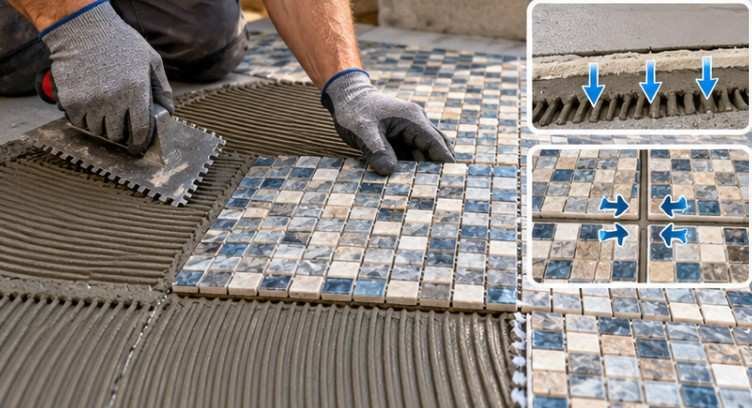
Mix the exterior-rated thin-set exactly according to its manufacturer’s water ratio and mixing procedure. Adding extra water because the mortar feels stiff can alter its intended performance. Use the flat edge of the trowel first to force mortar firmly against the prepared concrete. Then comb a controlled layer with the notched side.
Only cover an area you can tile before the mortar begins forming a dry surface skin. Set each mosaic sheet gently into position. A rubber grout float or flat beating block can press the sheet evenly without pushing individual pieces out of alignment.
Test the Mortar Coverage
This is one of the most useful quality-control checks in the entire project. After setting an early sheet, lift it back up and inspect the underside. Exterior tile installations require substantially more complete contact than casually placed interior decorative tile. The Ceramic Tile Education Foundation cites a 95% mortar-coverage requirement for exterior installations.
Large empty pockets can collect moisture and leave tiles poorly supported. Flattening mortar ridges before bedding small mosaics can also reduce excessive mortar squeezing upward through the many joints.
Do Not Tile Over Movement Joints
This detail can separate a durable patio from one that cracks after seasonal temperature changes. Existing expansion, control, isolation, and other movement joints in the concrete should not simply disappear beneath a continuous mosaic installation. Tile assemblies need movement accommodation.
The International Masonry Institute explains that movement joints should correspond with relevant joints in the substrate and should extend through the tile assembly.
Perimeter conditions and large exposed patios may need additional movement joints. For complicated slabs, significant cracking, large areas, or installations over occupied spaces, professional tile-system design is safer than improvisation.
Grout Only After the Mortar Has Cured
Respect the thin-set manufacturer’s curing period before grouting. Twenty-four to 48 hours is common in many systems, but weather and product chemistry matter, so the package instructions take priority.
Work grout diagonally across the tile with a rubber float, packing the joints completely. Clean the surface in stages with a damp—not dripping—sponge.
High-performance cementitious grout can work outdoors when approved for the application. Epoxy grout offers excellent stain and moisture resistance but requires careful mixing and cleanup. Do not assume epoxy grout is automatically required for every patio.
Sealing Is Not a Substitute for Correct Installation
Another misconception is that every mosaic patio requires two coats of sealer. Porcelain and many glass mosaics are essentially nonporous and normally do not need penetrating tile sealer. Epoxy grout generally does not require conventional grout sealing either. Porous natural stone or cementitious grout may benefit from an appropriate penetrating sealer, depending on the product.
More importantly, a surface sealer cannot repair poor drainage, inadequate mortar coverage, active cracks, or missing movement joints. The National Park Service similarly warns in its masonry guidance that trapping moisture with inappropriate coatings can contribute to deterioration rather than prevent it.
Frequently Asked Questions
1. Can mosaic tile be installed directly over a concrete patio?
Yes, if the concrete is stable, properly drained, clean, appropriately prepared, and compatible with the selected mortar system. Cracked or deteriorated concrete may require repair or additional treatment first.
2. What mortar should I use for outdoor mosaic tile?
Use a polymer-modified thin-set mortar specifically approved for exterior installation and compatible with your mosaic material, substrate, and any membrane used in the assembly.
3. How long should outdoor mosaic tile cure before grouting?
Many installations require roughly 24–48 hours, but temperature, humidity, mortar type, and tile material affect curing. Always follow the mortar manufacturer’s stated time.
4. Does outdoor mosaic tile need to be sealed?
It depends. Porous stone and some cementitious grout may benefit from sealing, while glass, porcelain, and epoxy grout often do not require conventional penetrating sealer.
Final Thoughts
The decorative pattern is usually the easiest part of an outdoor mosaic project. The less visible details—slope, substrate condition, mortar contact, movement accommodation, and weather-appropriate materials—determine whether that pattern still looks good years later.
If I were planning a patio, I would spend more time testing the concrete and drainage than choosing grout color. Once those fundamentals are right, how to lay mosaic tile on outdoor patio surfaces becomes a controlled installation rather than a gamble against rain, heat, and winter freezing. Build from the concrete upward, and the finished mosaic has a far better chance of staying where you put it.