A few years ago, I decided to install laminate flooring in my living room. It seemed like a simple DIY project, right? Just click the planks together, and you’re done! Well, let me tell you, I learned a lot about preparation, cutting planks at odd angles, and how NOT to install laminate flooring.
But in the end, it turned out great, and I’m here to share the tips and tricks I learned along the way. By following this guide, you can install laminate flooring the right way—without any drama.
So, let’s dive into the details of how to install laminate flooring. Whether you’re a seasoned DIYer or a first-timer, you’ll find all the information you need to complete your project successfully.
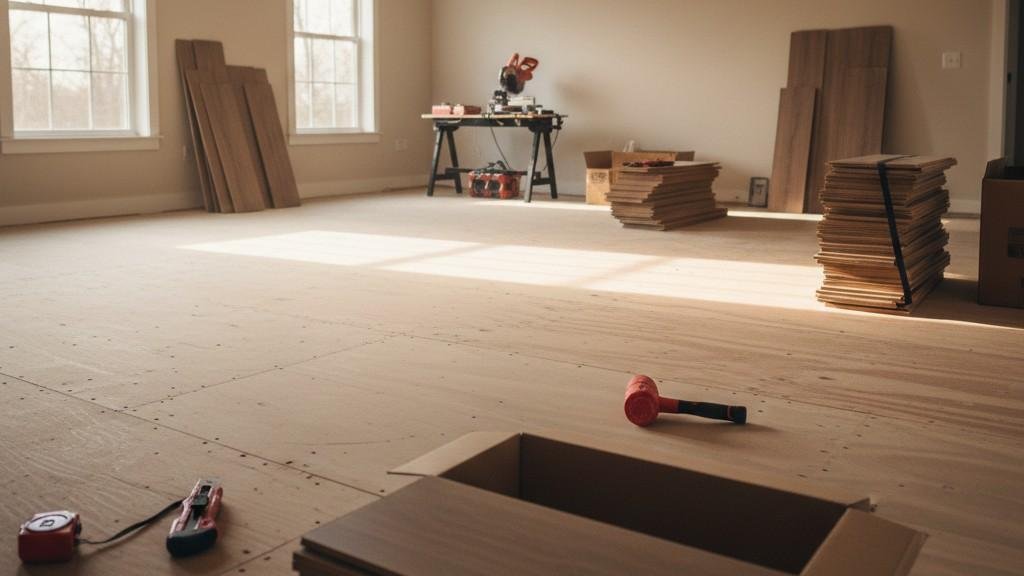
Preparation and Planning
Acclimation: Let the Laminate Adjust
Before jumping into the installation, it’s crucial to give your laminate flooring time to acclimate to the room. Laminate expands and contracts with changes in temperature and humidity, so you want to avoid any issues like warping after installation.
To do this, leave the unopened boxes of laminate in the room where they’ll be installed for at least 48 hours. This helps the material adjust to the room’s conditions, ensuring a perfect fit once the planks are installed.
Subfloor Prep: Clean, Dry, and Level
A clean, dry, and level subfloor is essential for laminate flooring. Make sure to remove any existing carpet, tack strips, or baseboards. If your subfloor is concrete, ensure it’s dry—moisture can cause damage to the laminate over time.
Additionally, check for any uneven areas and use a leveling compound to smooth them out. For wooden subfloors, make sure they are flat and stable, as any imperfections can affect how your laminate lays.
Underlayment: Provide Protection and Comfort
Most laminate flooring comes with pre-attached padding, but if yours doesn’t, you’ll need to roll out an underlayment. This layer provides extra cushioning and helps reduce noise. If you’re installing on a concrete subfloor, always use a vapor barrier to control moisture in the home from seeping into the laminate. This is especially important for rooms with high humidity levels, such as basements or kitchens.
Calculations: Measure for Precision
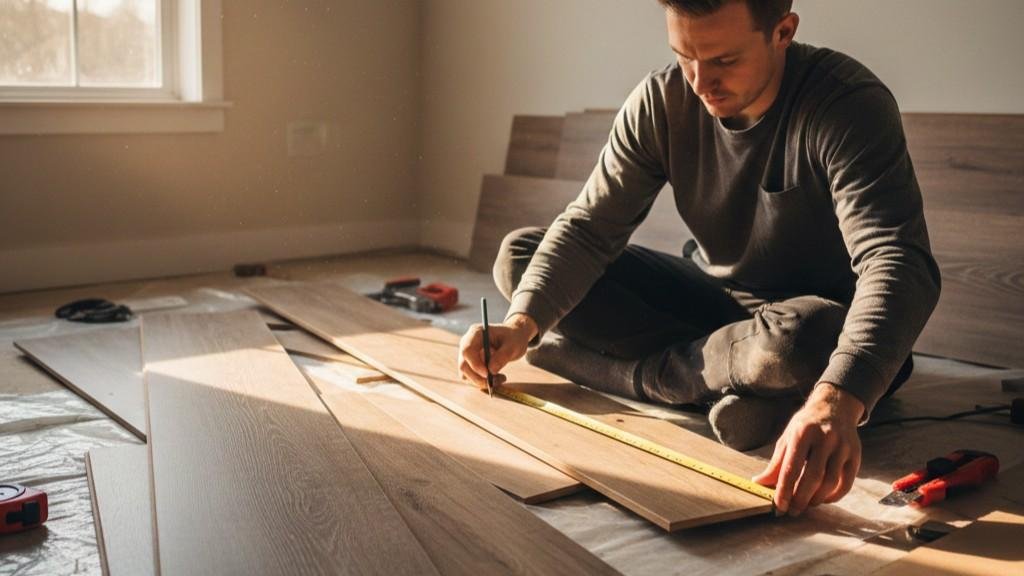
Now, it’s time to measure. Start by measuring the square footage of the room and then add 10–15% extra to account for cuts and waste. This extra material ensures you won’t run short mid-project and allows for adjustments around obstacles like doors or vents. Accurate measurements are crucial for getting a seamless look when you install the laminate.
Installation Steps

Layout First Row: Start with Precision
To begin the installation, place your first row of laminate in the corner of the room along the longest straight wall. Make sure the tongue side of the planks faces the wall, and use spacers between the planks and the wall to leave a 3/8-inch expansion gap.
This gap is essential to allow the laminate to expand and contract as the room’s temperature and humidity change. Use a tape measure to ensure the first row is aligned and straight—this will serve as your guide for the rest of the floor.
Expansion Gaps: Allow for Movement
Expansion gaps are essential when laying laminate flooring. These gaps, typically 3/8-inch wide, are required around the perimeter of the floor to accommodate changes in the laminate’s size due to temperature and humidity.
Use spacers between the wall and the planks to ensure these gaps are maintained throughout the installation process. Once the planks are laid, remove the spacers and cover the gaps with trim or molding.
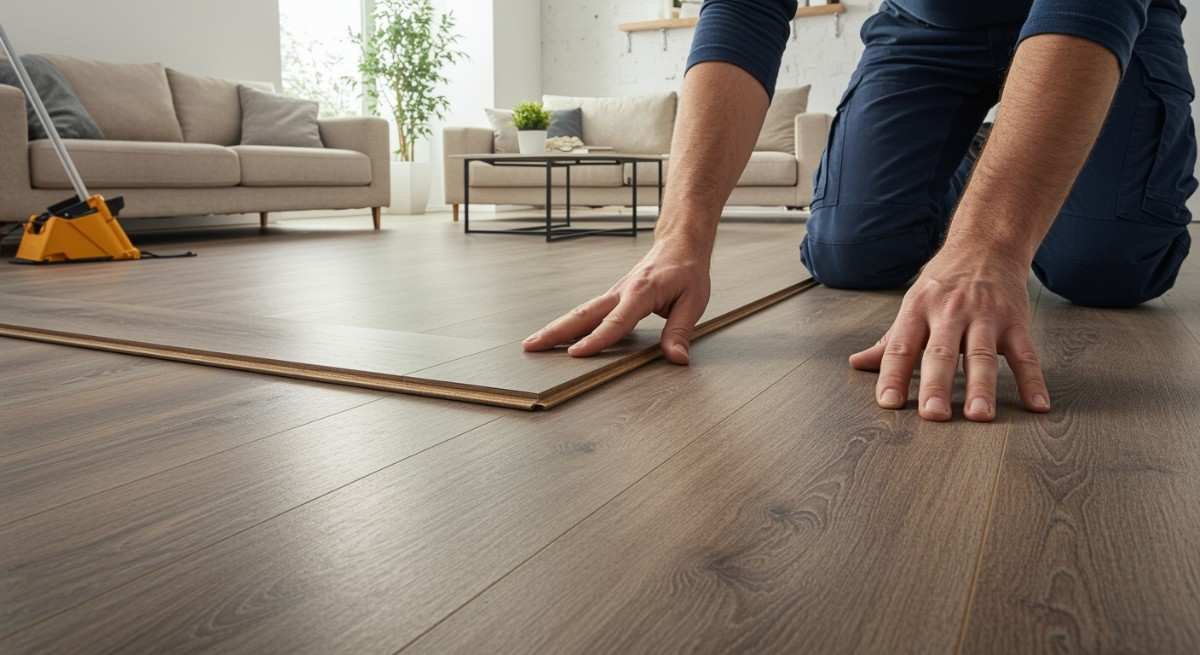
Click and Lock: Get the Pieces Together
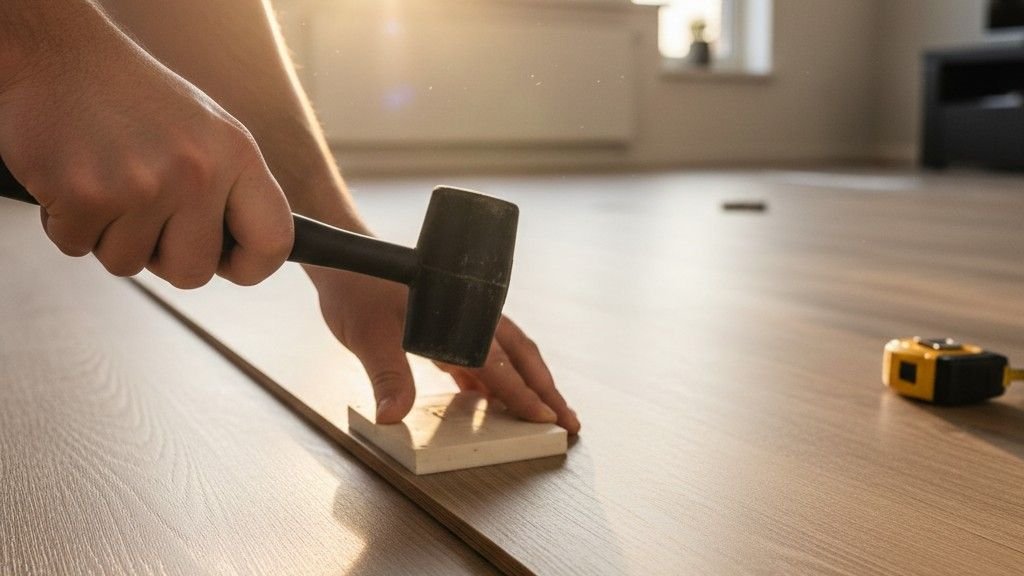
Now, for the fun part—locking the planks together! To install each new plank, insert the tongue side into the groove of the previous one at a 20–30 degree angle. Once the pieces are aligned, gently rotate the plank down to click it into place.
You’ll hear a soft “click” when they lock together. If necessary, tap the planks lightly with a rubber mallet to make sure they fit snugly together.
Stagger Joints: Create a Natural Look
For the most natural appearance and maximum floor stability, you should stagger the joints between adjacent rows by at least 12 inches. This prevents the seams from lining up, which can make the floor look unnatural and weak.
You can use the leftover piece from the end of one row to start the next row, helping you save material while maintaining the staggered look.
Tighten Fits: Close the Gaps
After you’ve clicked the planks together, use a tapping block and a rubber mallet to close any small gaps between the planks. For the final row, where a tapping block won’t fit, use a pull bar to pull the planks tightly into place. This ensures a smooth, even surface across the entire floor.
Obstructions: Cut Around Them
When you come to door frames, pipes, or vents, you’ll need to make cuts to fit the laminate around these obstacles. For door frames, you may need to undercut the molding so the laminate can slide underneath. For pipes and vents, use a jigsaw to make precise cuts around them. Take your time with these cuts to ensure a clean and professional finish.
Finishing Touches
Remove Spacers: Clean Up the Edges
Once the laminate is fully installed, remove the spacers you used to maintain the expansion gap. Be careful not to disturb the flooring as you remove them. After the spacers are gone, you’ll see the perimeter gap that will be covered by trim.
Install Trim: Add the Final Touches
Now, it’s time to add the finishing touches. Reinstall your baseboards or add quarter-round molding to cover the expansion gaps. When nailing the trim into place, make sure to attach it to the wall—not the laminate. This allows the laminate to float and expand beneath the trim without obstruction.
Transition Strips: Seamless Transitions
If your laminate flooring meets another type of flooring—like tile or carpet—install transition strips at the doorways to create a smooth and safe transition between the two floors. These strips help prevent tripping hazards and ensure that the different flooring types are securely and smoothly joined together.
Frequently Asked Questions
1. Can I install laminate flooring over existing carpet?
It’s not recommended to install laminate over carpet. Carpet can create an uneven surface, and moisture trapped underneath can damage the laminate. Always remove any existing carpet and padding before installing laminate flooring to ensure a smooth, level surface.
2. How long does it take to install laminate flooring?
For a standard-sized room, you can expect the installation to take around one to two days, depending on the complexity of the space. Larger rooms or rooms with many obstacles may take longer. Make sure to allow extra time for cutting, adjusting, and making sure everything is aligned properly.
3. Do I need to use underlayment for laminate flooring?
Yes, underlayment is important for several reasons. It provides cushioning, reduces noise, and protects the laminate from moisture. If your laminate planks don’t have pre-attached padding, you’ll definitely need to roll out a high-quality underlayment before laying the planks.
You Did It—Enjoy Your New Floors!
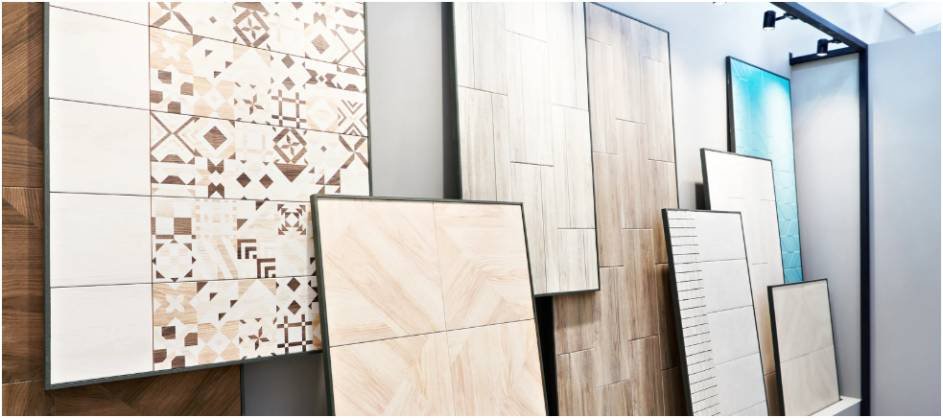
Congratulations—you’ve successfully installed your laminate flooring! With a little patience and attention to detail, you now have a beautiful new floor that will last for years. Remember to take good care of it by cleaning it regularly and protecting it from damage. Keep a few extra planks on hand for future repairs, and you’ll be ready for anything that comes your way. On another note, consider using tile in modern home design for stylish, complementary flooring options.
Pro Tip: If you ever need to repair a plank, just pop out the damaged piece and replace it with a new one—it’s that easy! Enjoy your beautiful new floors, and remember, DIY projects are all about learning and improving, so give yourself a high five!